Refinishing furniture: My how-to guide
Earlier this week, I wrote a post explaining why I started painting all my furniture. Today, I want to share with you the process. I’m still nowhere near what I would call a “professional” but I have picked up a few tricks along the way and would love to share them with you.
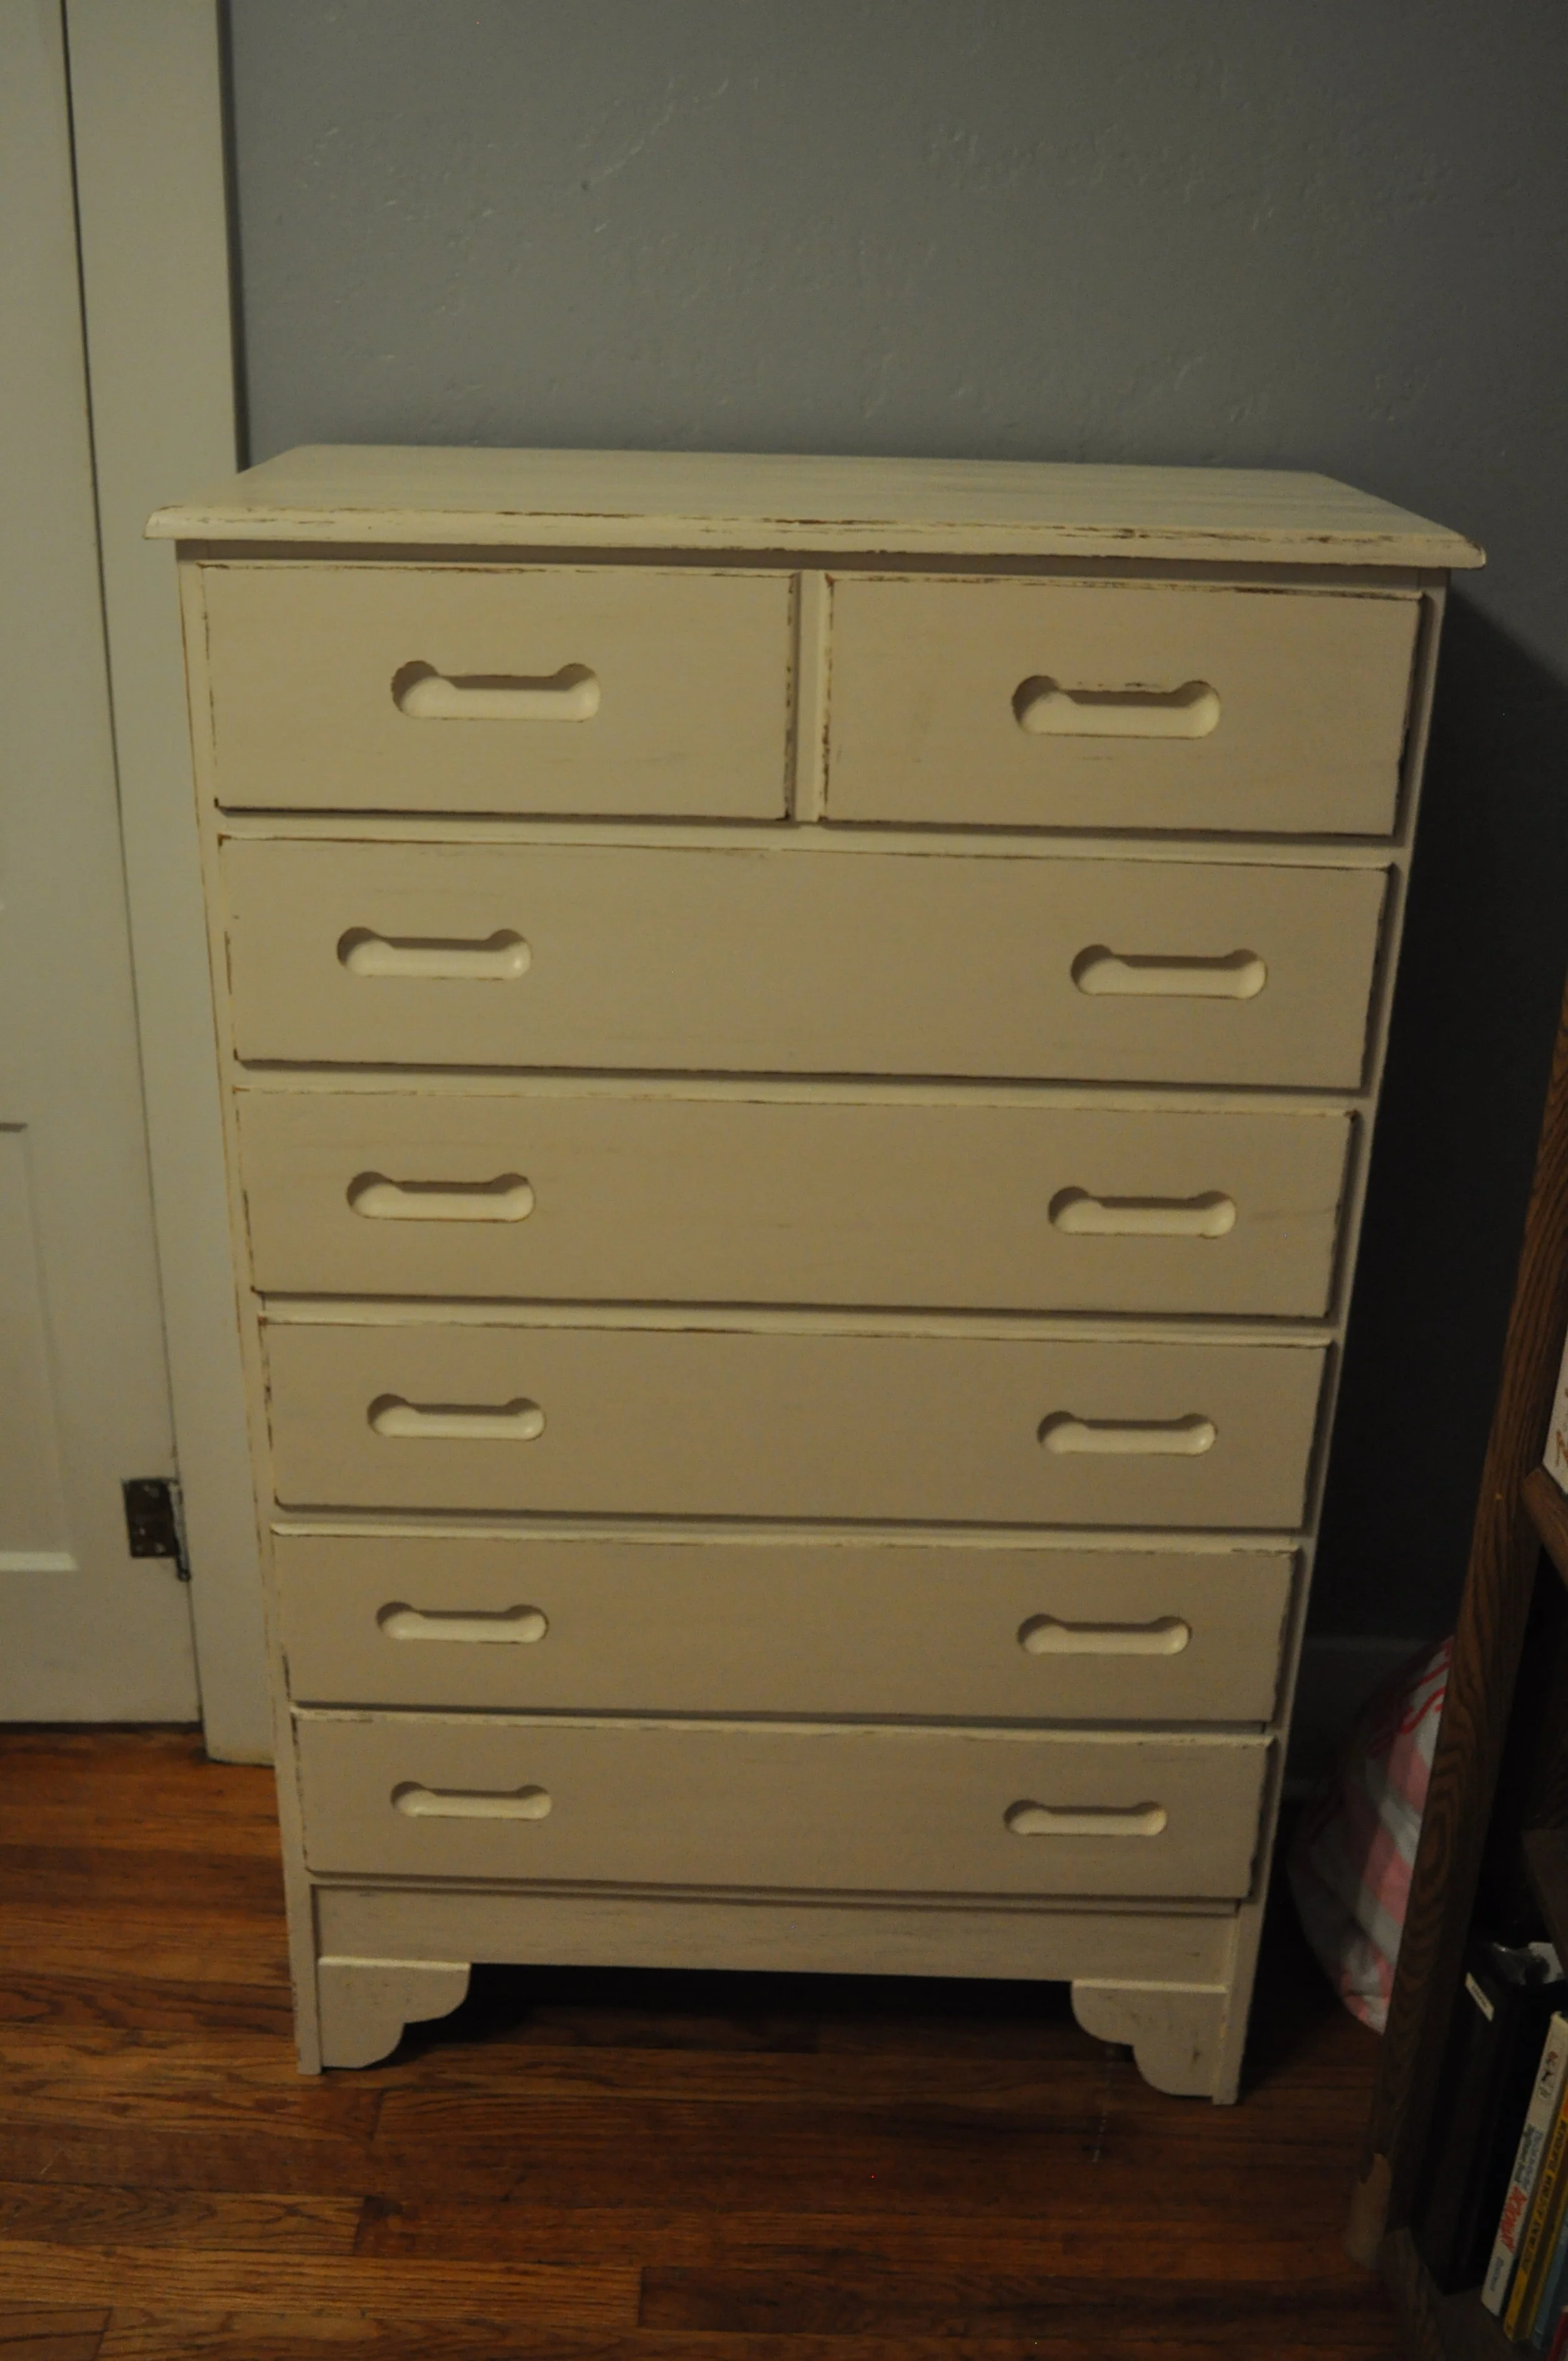
Step one: Pick out a piece of furniture
I’d start with one that you’re not terribly attached to. Of course you can eventually refinish your great grandmother’s dining room table if that’s what you’d like to do; I’m just suggesting you start out with something a little simpler for your first project. I also like to scour the internet for inspiration photos. On this particular project, I knew that my (previously painted) dressers needed some freshening up, and I knew that I wanted to throw a little more color into my bedroom. I happened across a photo in an article I read and fell in love with it. I knew immediately I wanted to try and recreate it for my bedroom. I was going to post it here, but I can’t remember where I got it and wanted to give them proper credit. Instead, you get to see my own (two!) finished products.

Step two: Choose your paint
First you’ll need to pick a color. Don’t go off of something you’ve seen on the internet, colors can change dramatically with lighting, photo processing, and from screen to screen. Go to an actual paint store and look at samples. I like to go to Lowe’s and look through their color swatches. Once I’ve picked a color, depending on how much space I have to cover, I buy one of their samples instead of spending money on an entire can of paint. If it’s something that has a lot of surface area, like a table, or if you have multiple pieces to paint, then you might want to get a pint sized can. For this project, I wanted to use multiple colors that coordinated with a tapestry I had just bought for my room. So I bought a variety of samples, and brought the tapestry inside the store with me to match.
Step three: Prepare the piece of furniture
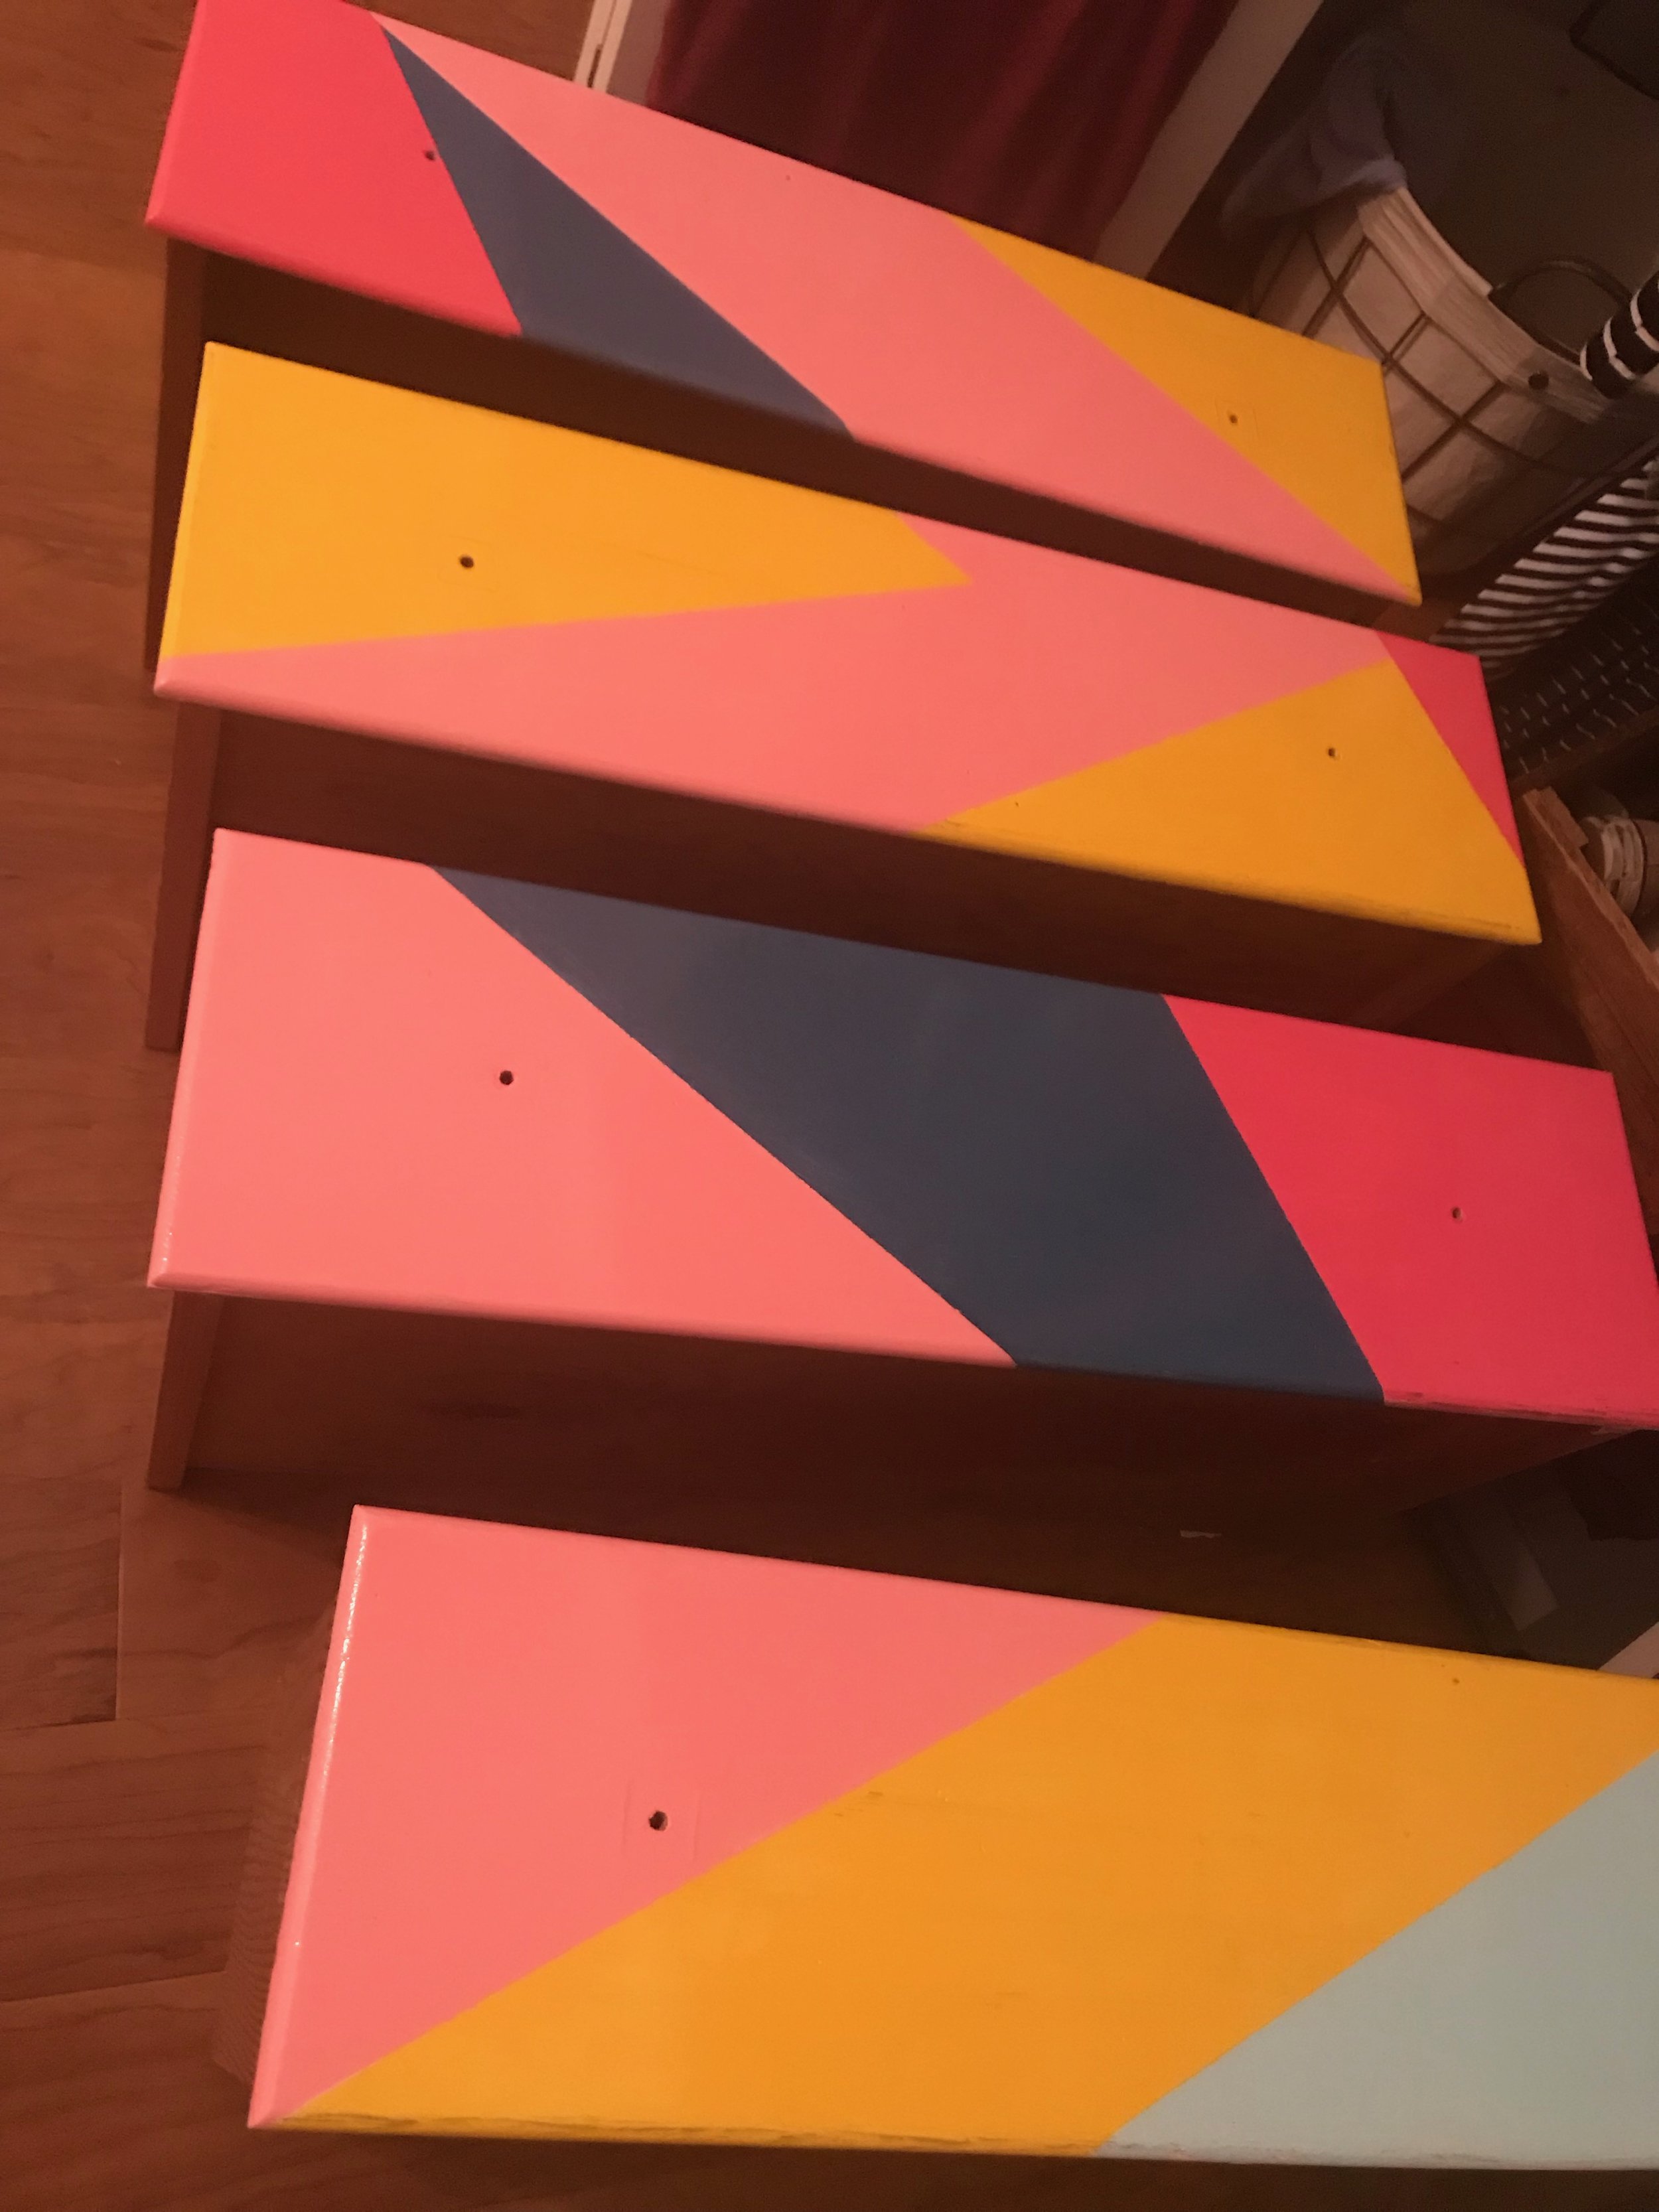
First, you’ll want to remove any hardware (put all the pieces in a Ziploc bag or I guarantee you’ll lose at least one washer). For dressers, I typically remove the drawers. For the patterned dresser, I kept the drawers in for most of the painting, but pulled them out a little so I had room to work. Then you’ll need to sand everything down. The intensity of this step depends on the finish that is currently on the furniture. Both of these dressers had just a light wax that I applied a few years ago, so I only had to lightly go over it. Some pieces have a poly coat (when it’s really shiny), and that requires a little more elbow grease. The idea is that you want to sand it down to the point when the coating is gone and it’s just the wood. It will feel soft, and a little rough. I know those two words don’t seem like they go together, but that’s the best way I can describe it. It’s okay if there is still previous paint on it, you just want to get it to the point to where it will soak up the paint instead of just sitting on top of the finish. Particleboard is a little harder, since it’s not real wood. I just try and rough it up a tiny bit, but you don’t want to get too aggressive with it. I purchased a small hand sander that has been a huge help during big projects. If you’re just doing a small piece, you can use one of those sanding blocks, or just a normal piece of sandpaper.
Completely wipe everything down with a damp cloth when you’re finished. This helps get rid of any sanding particles, cobwebs, ect. If you skip this step, the dirt will mix with the paint and it’s not a pretty picture.
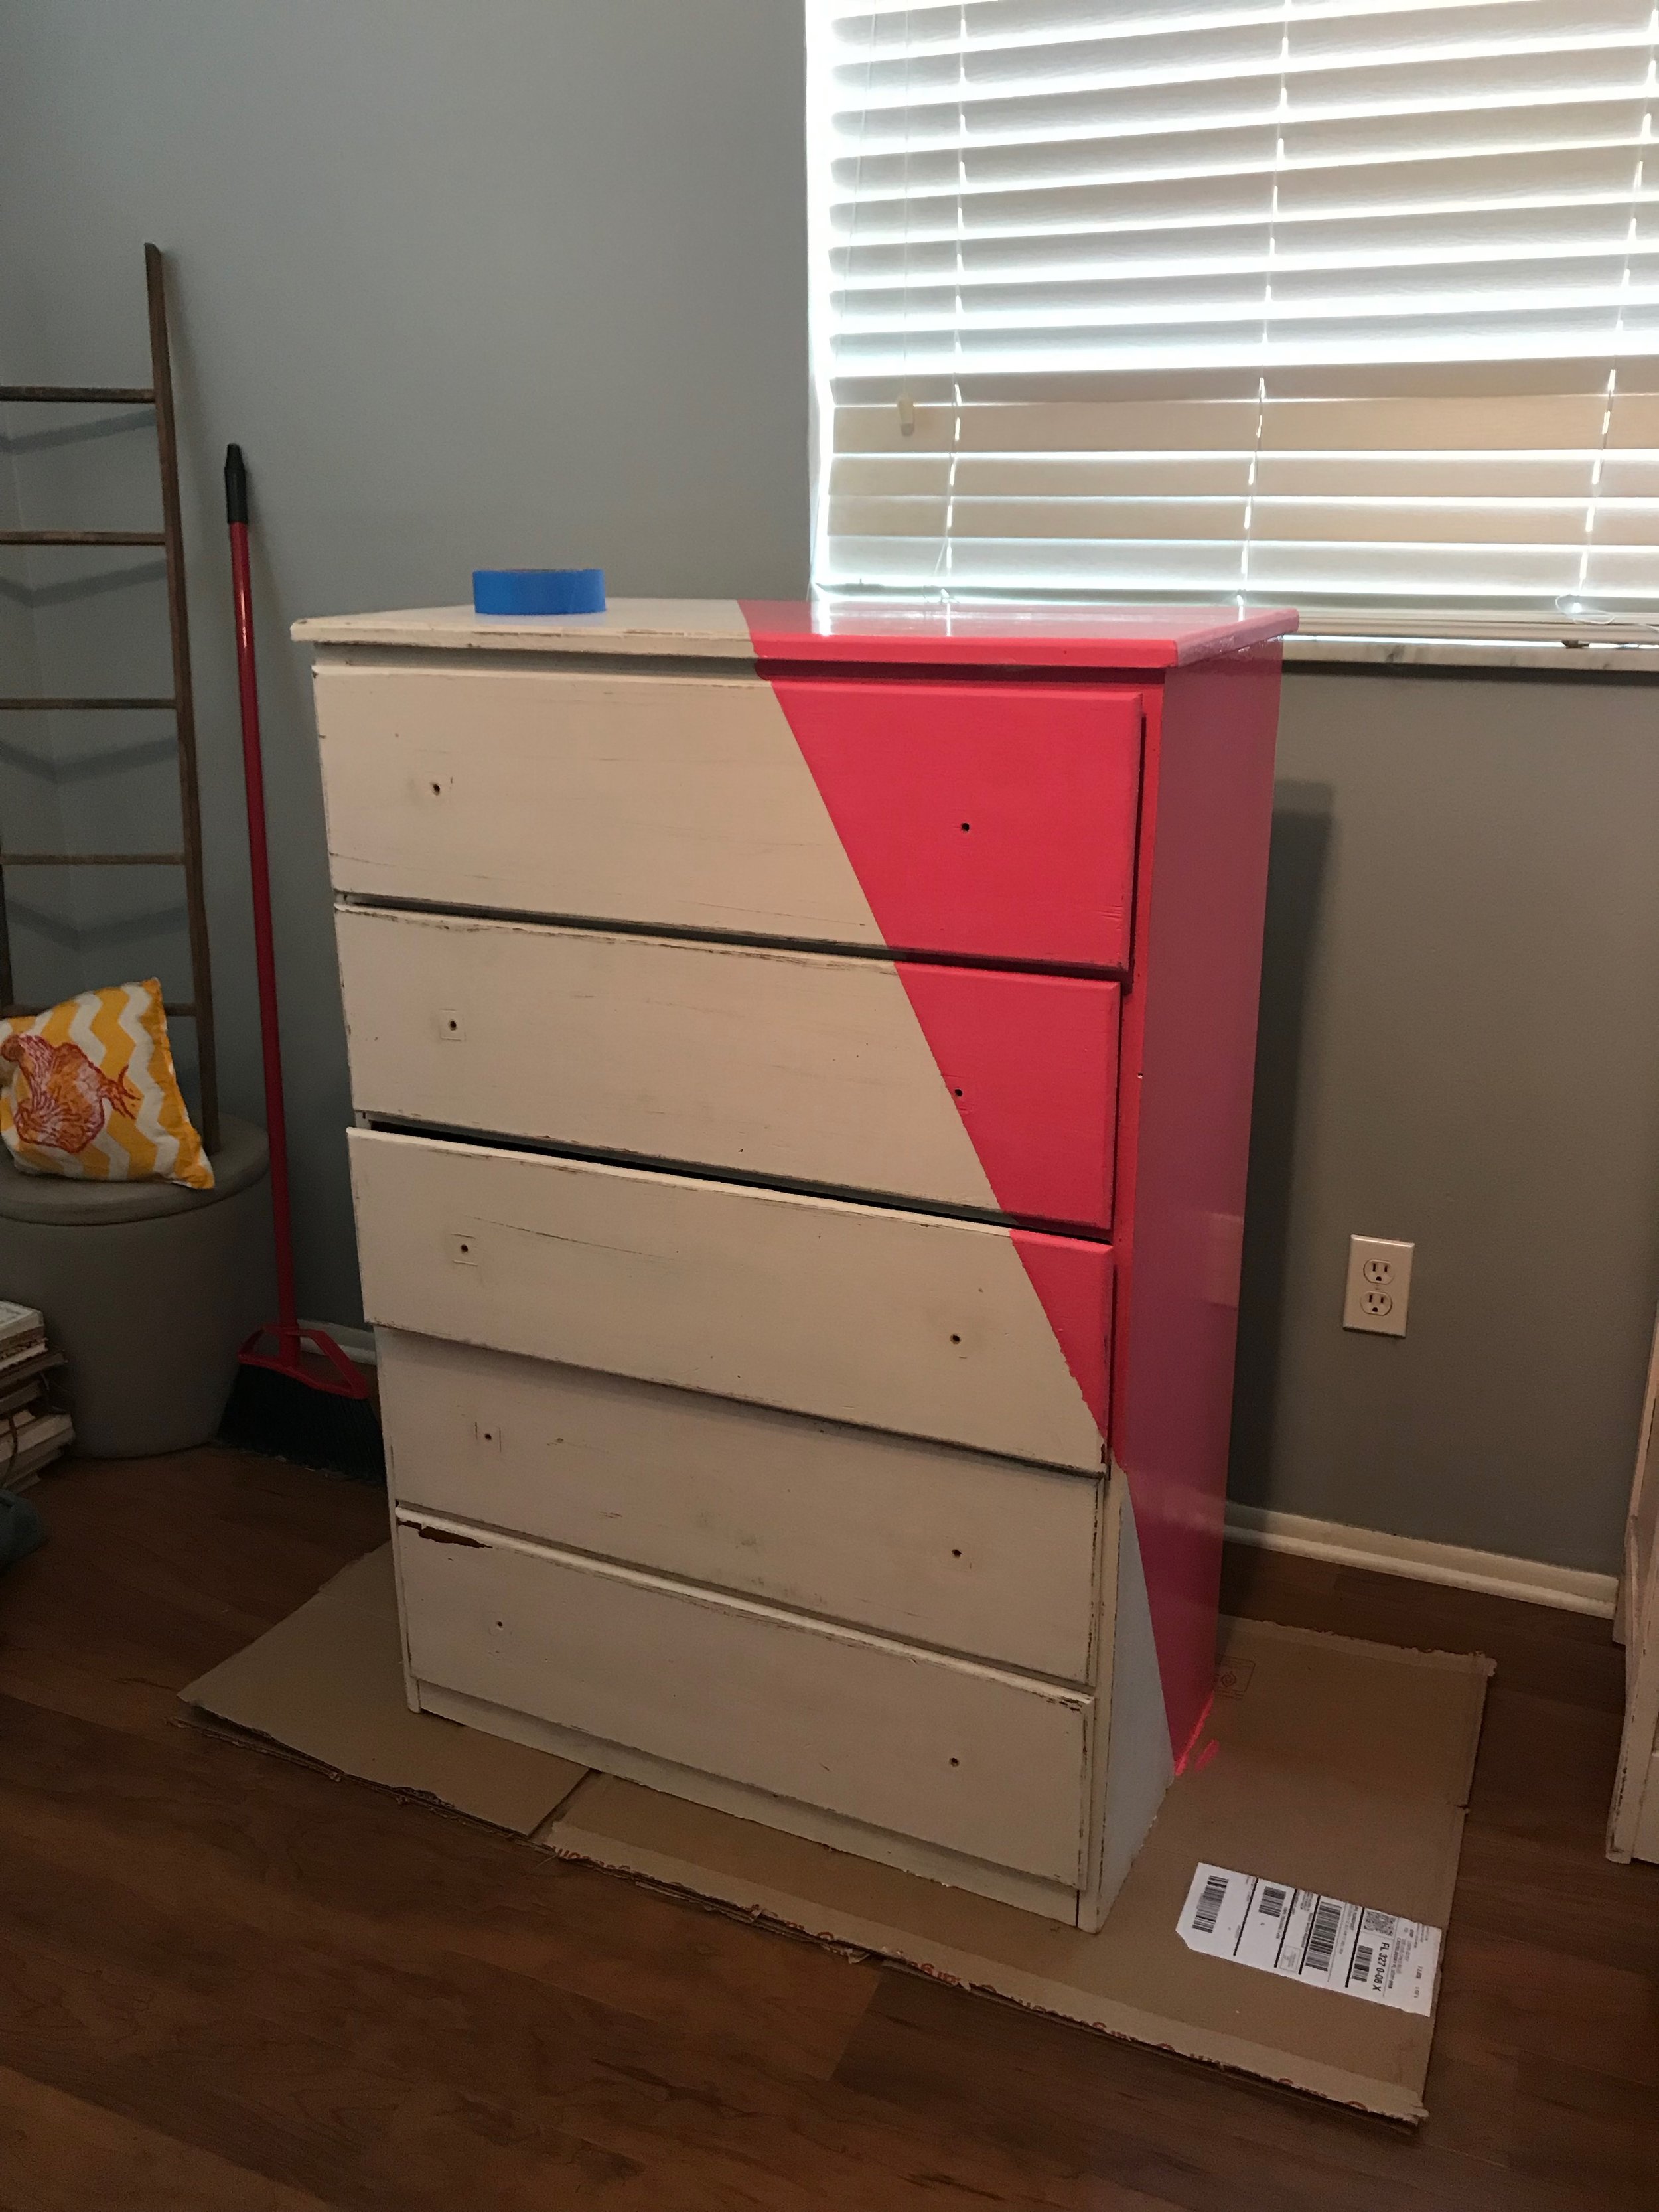
Step Four: Start painting!
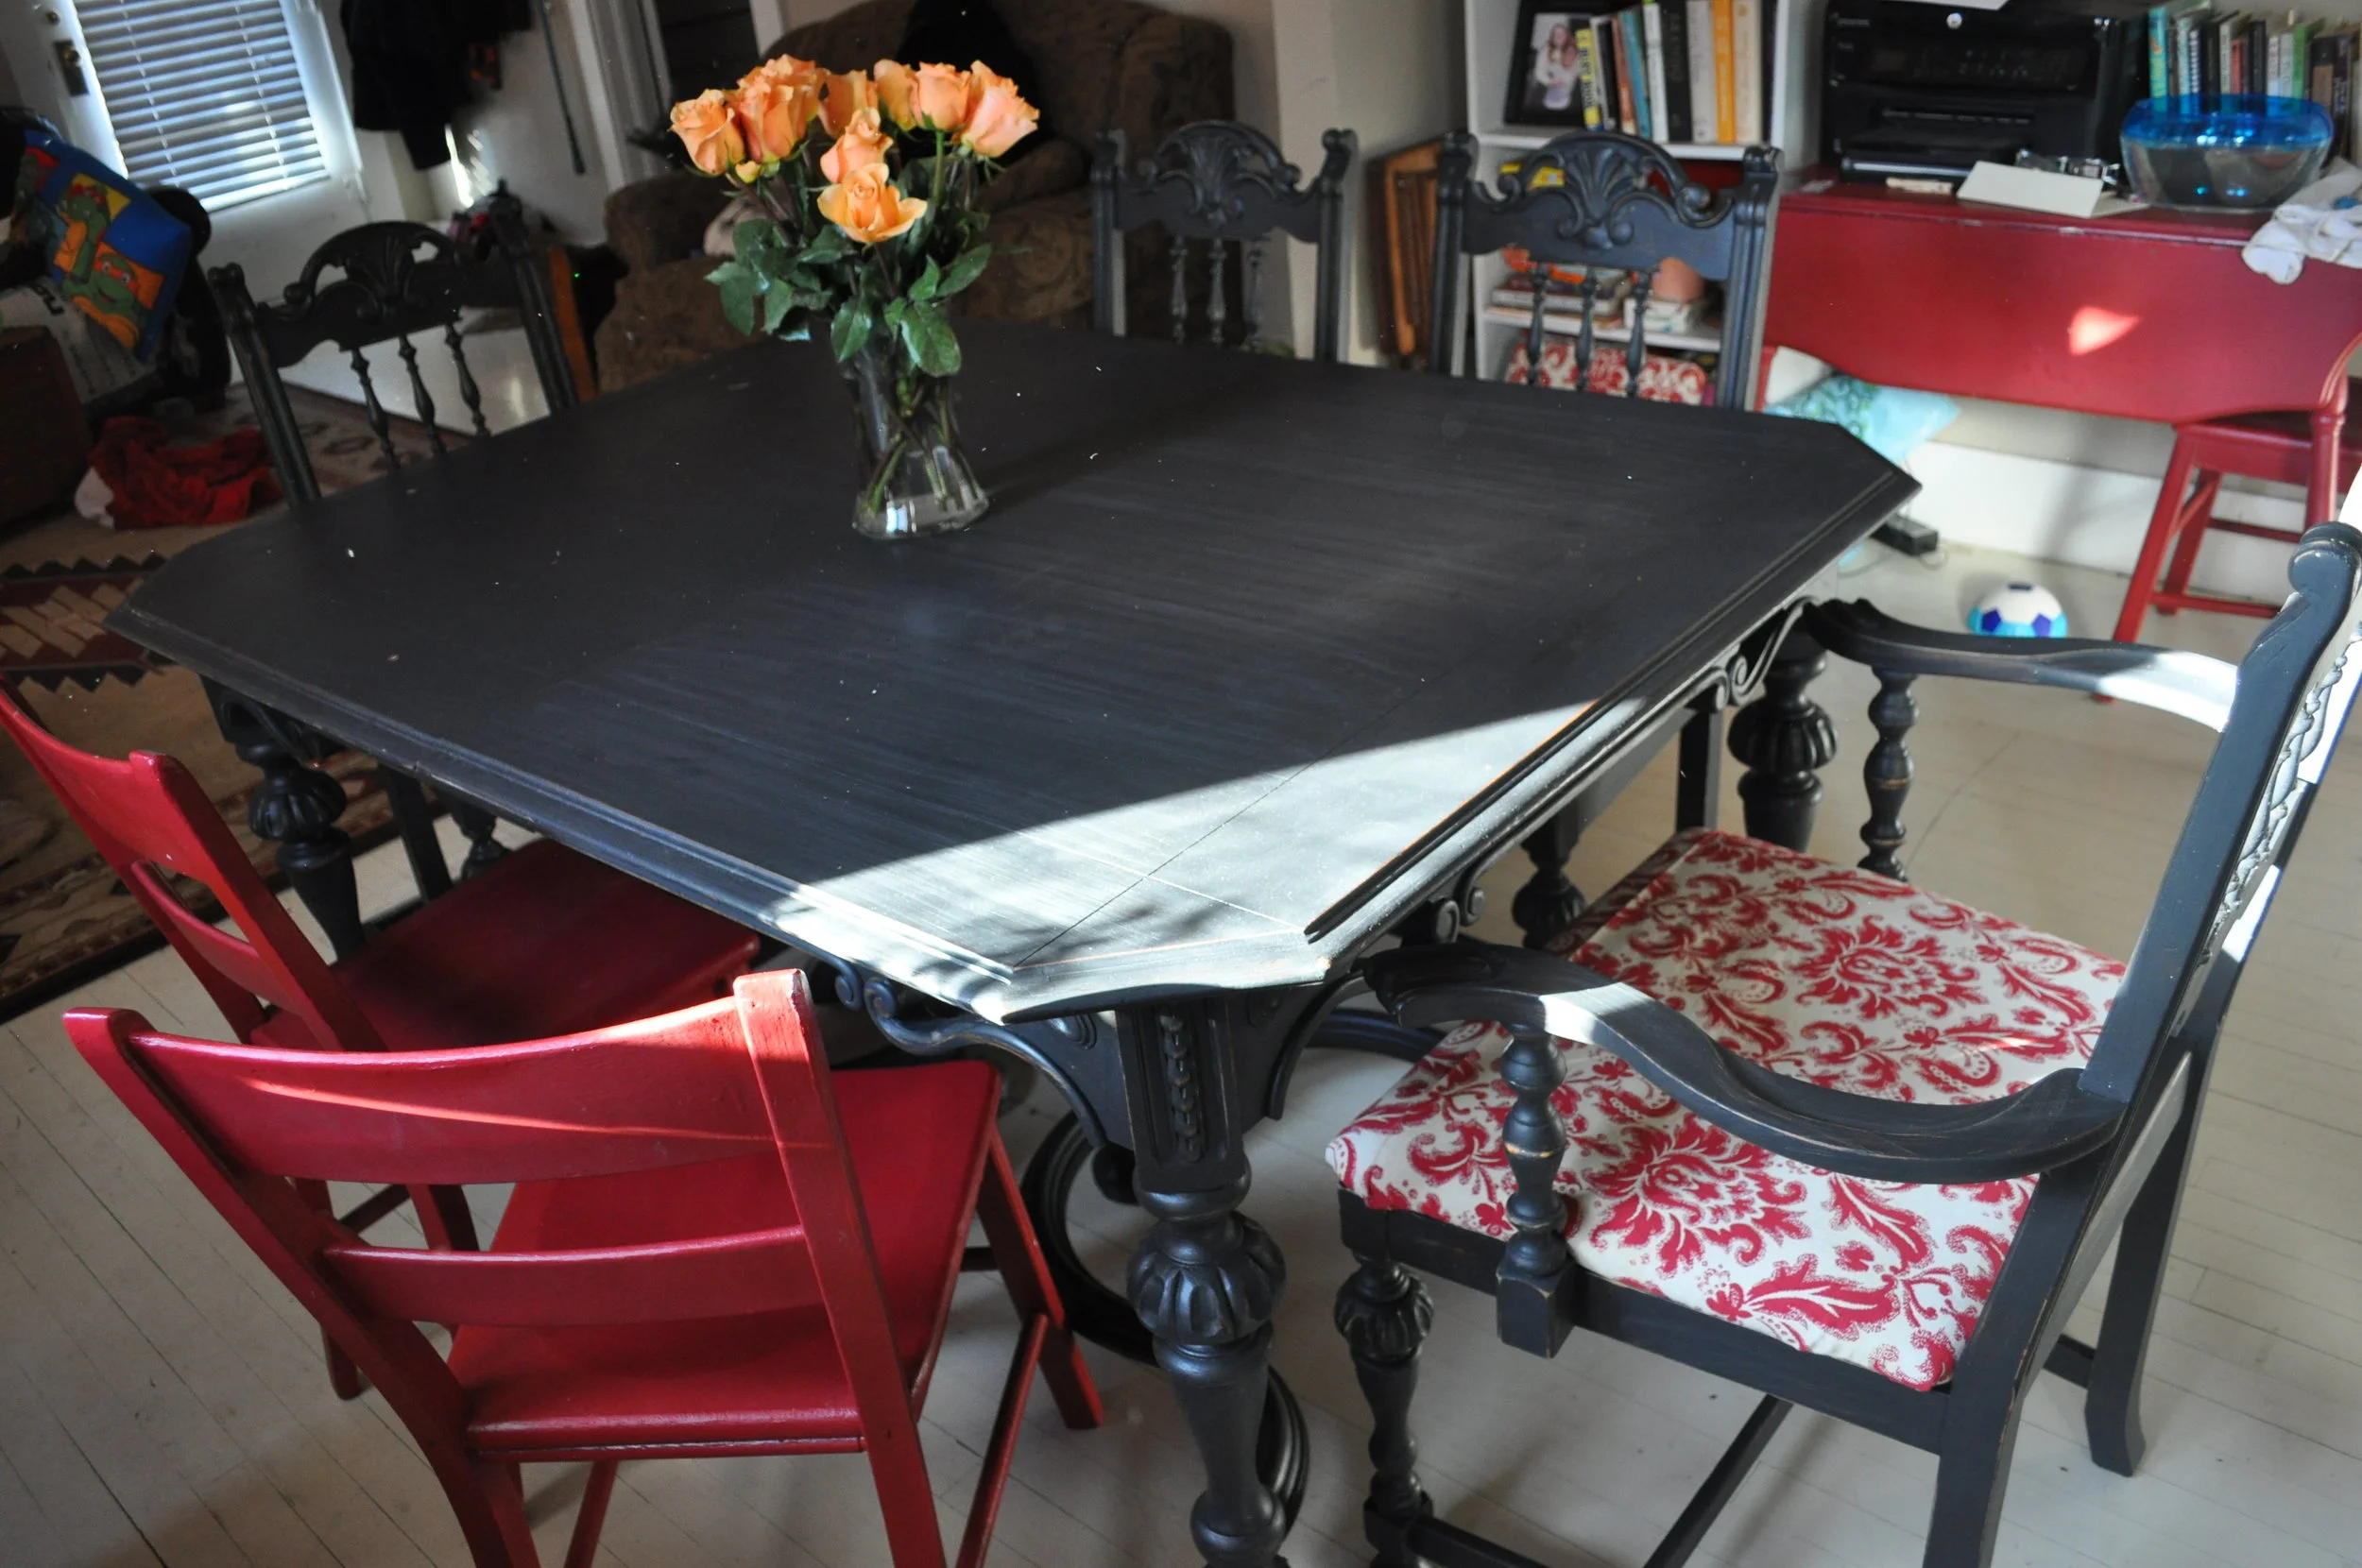
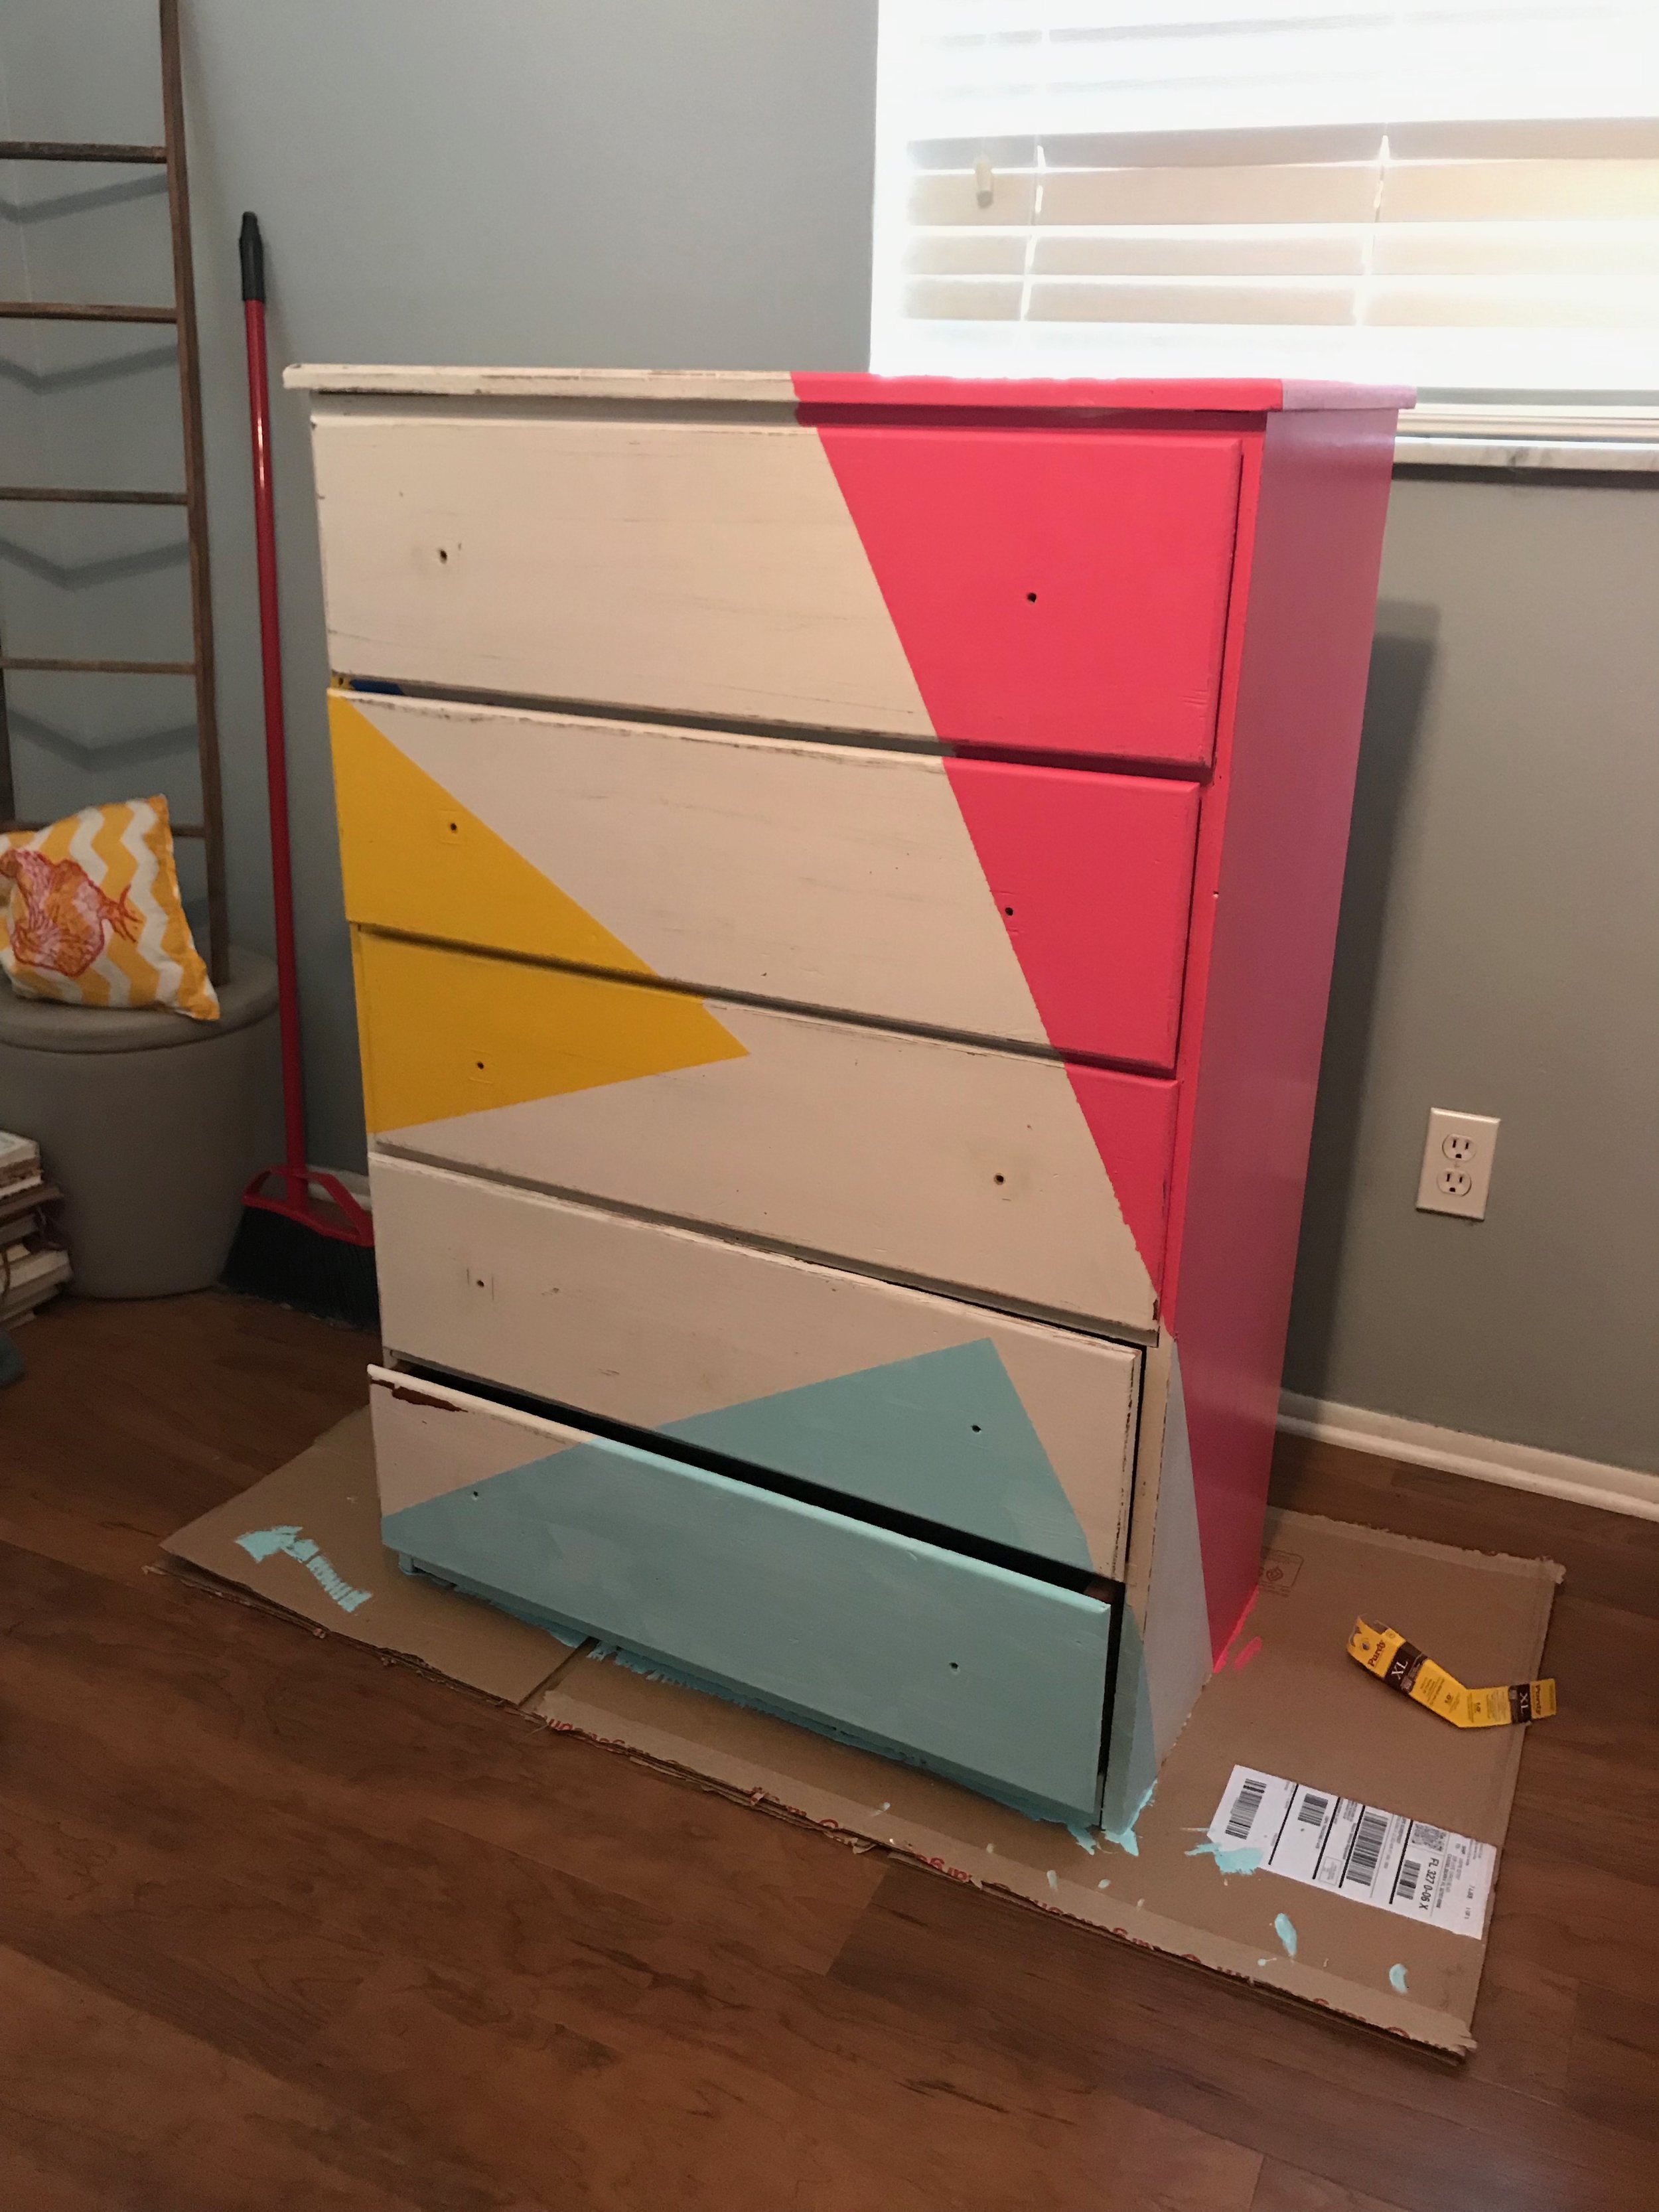
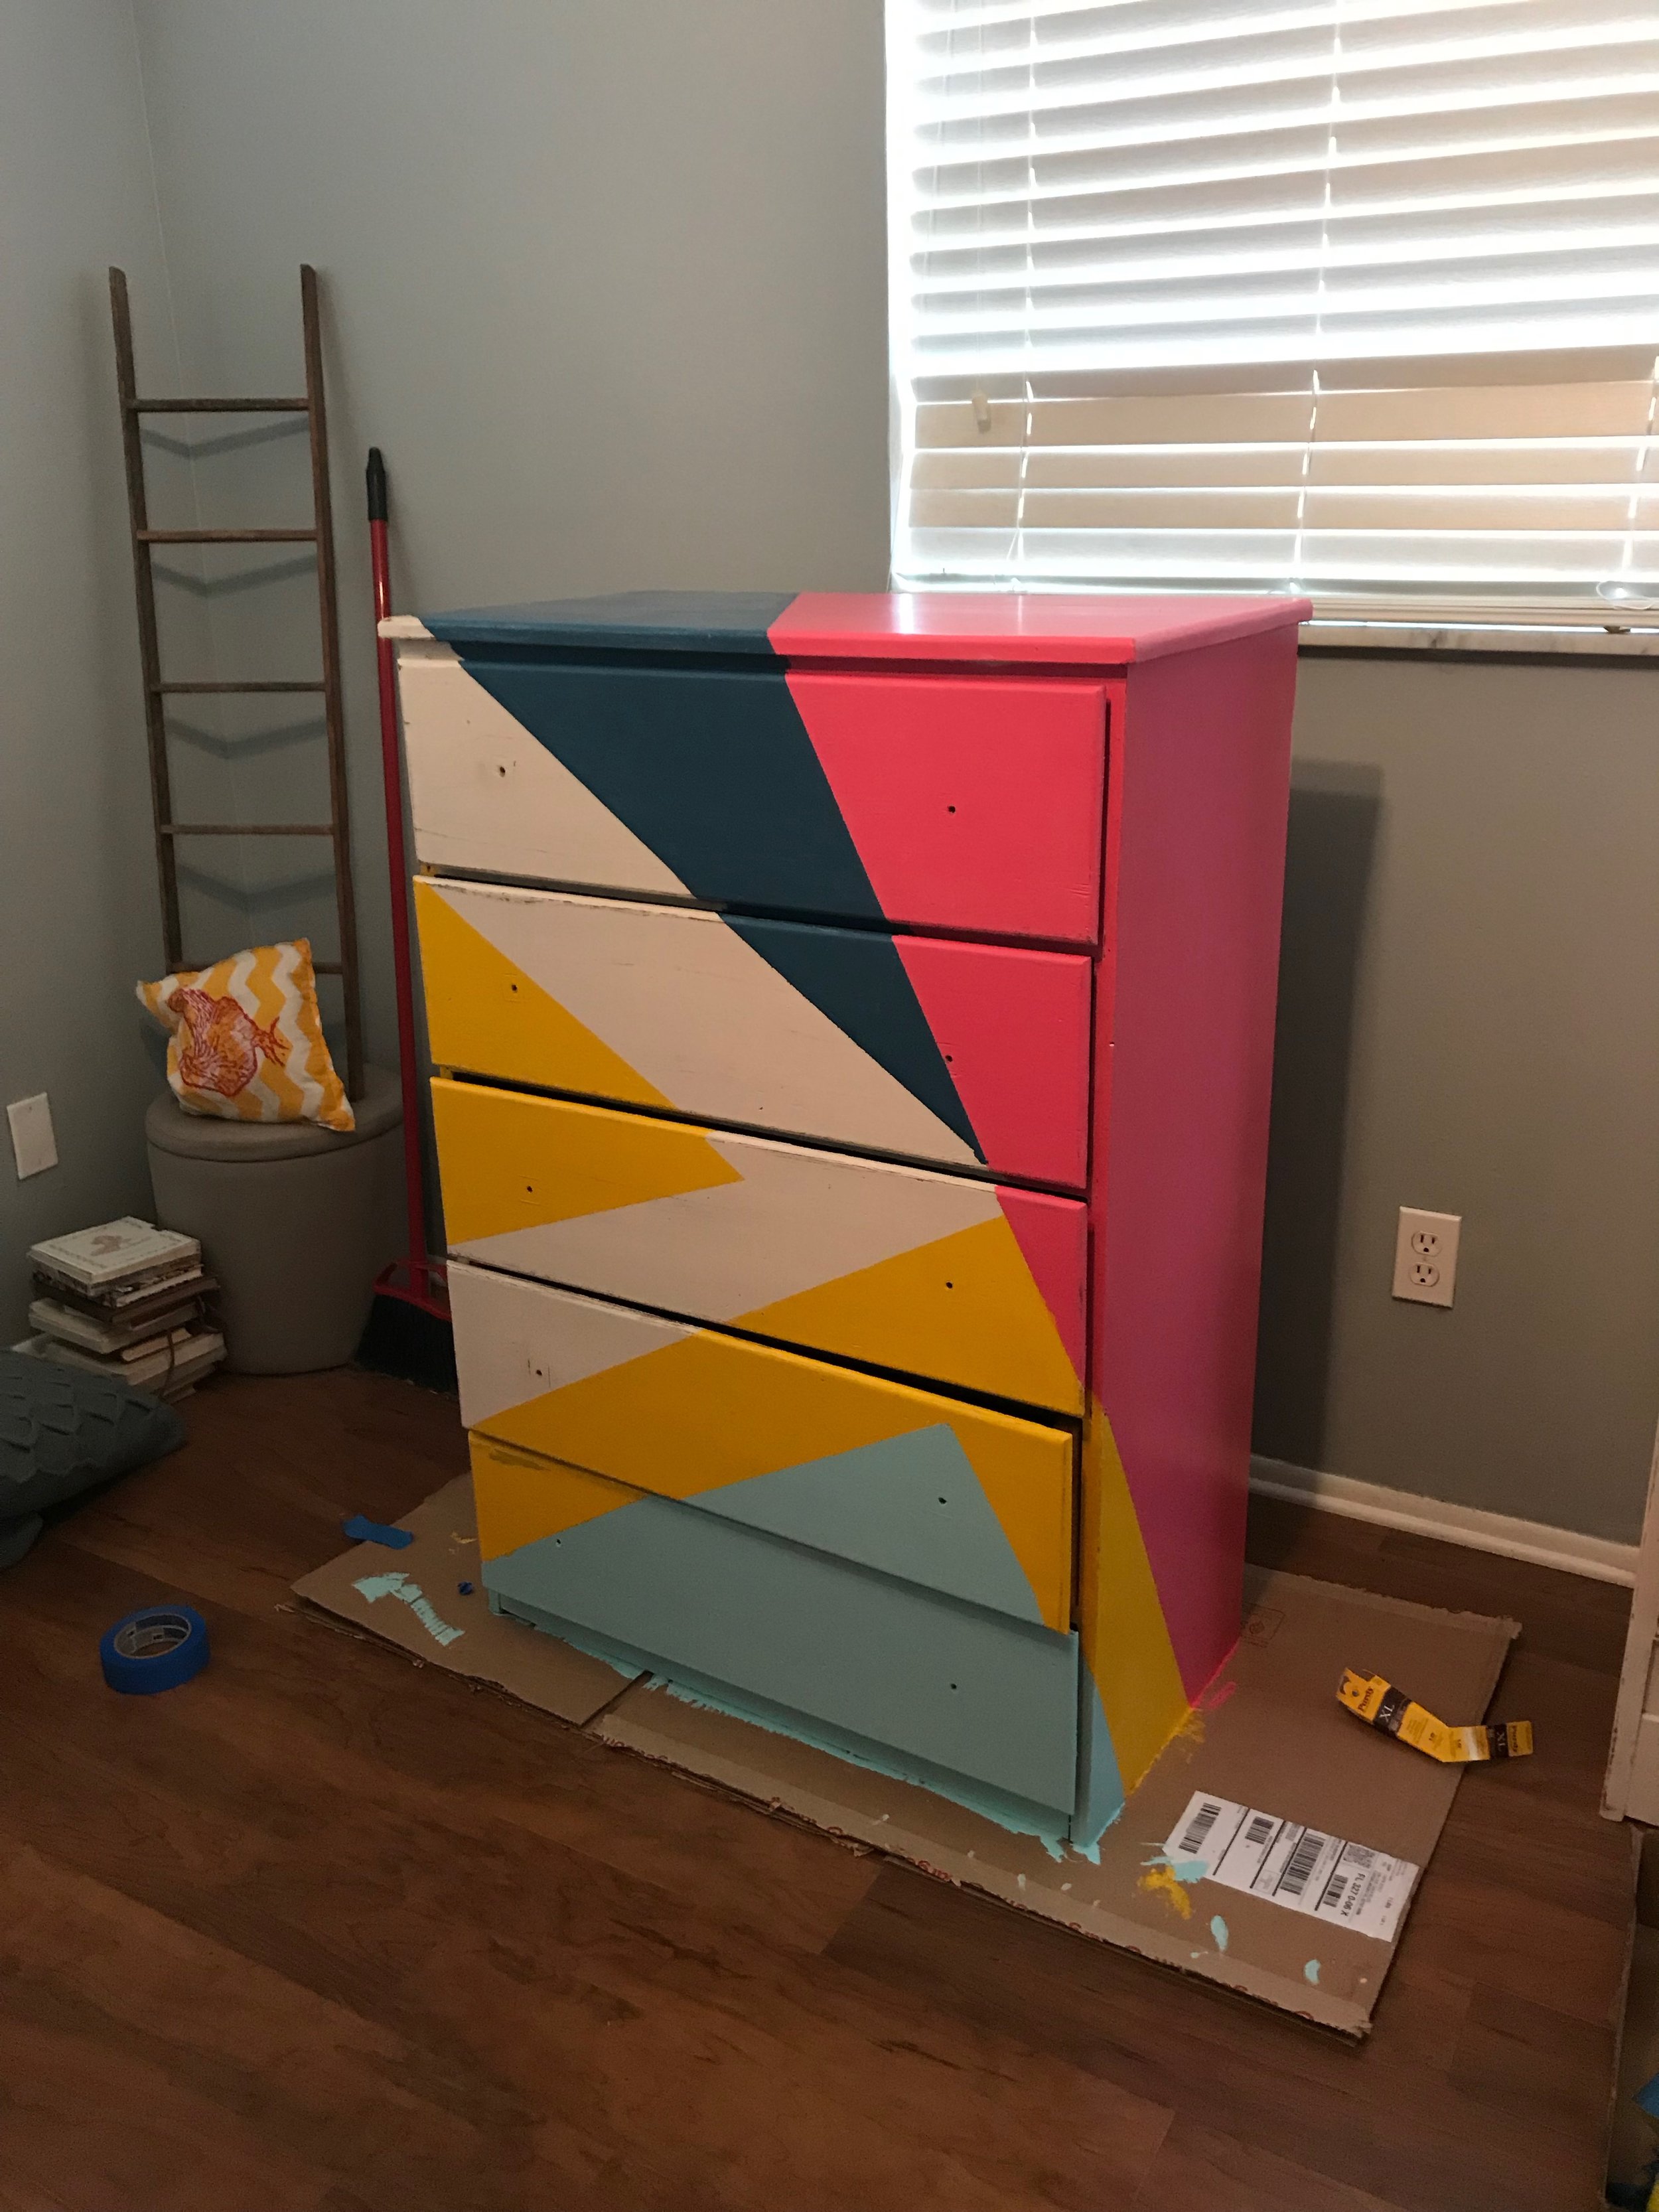
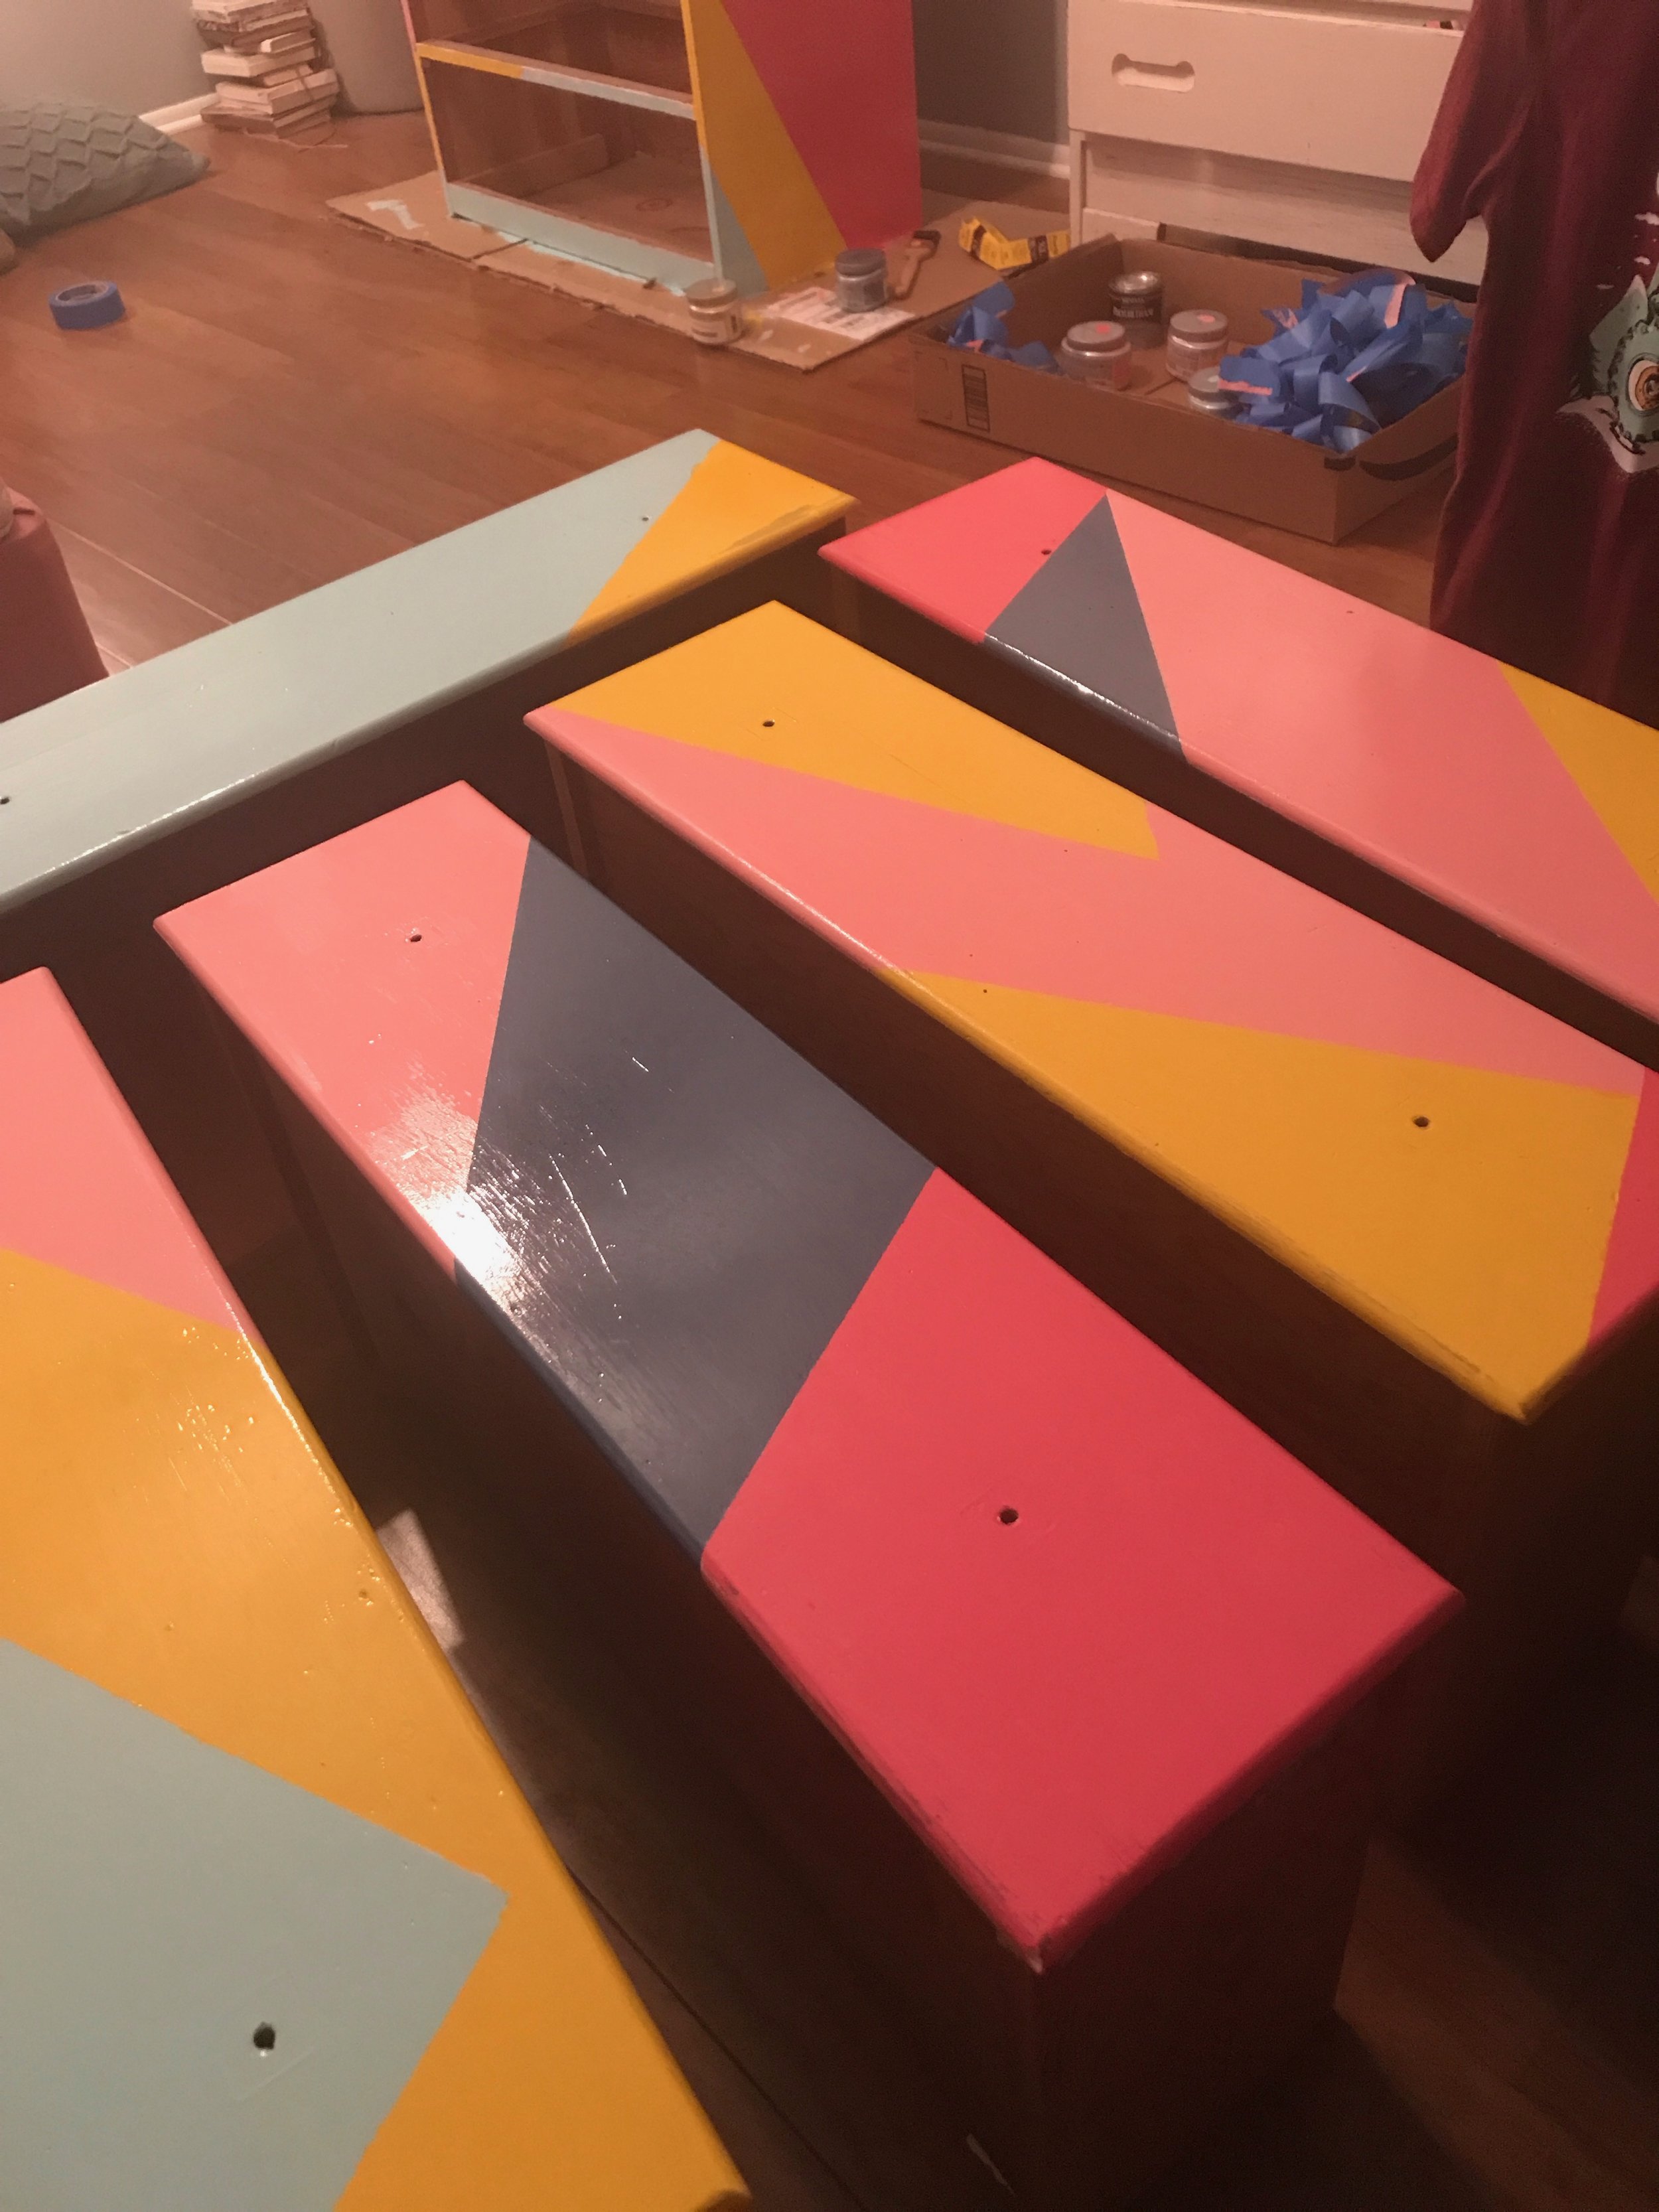
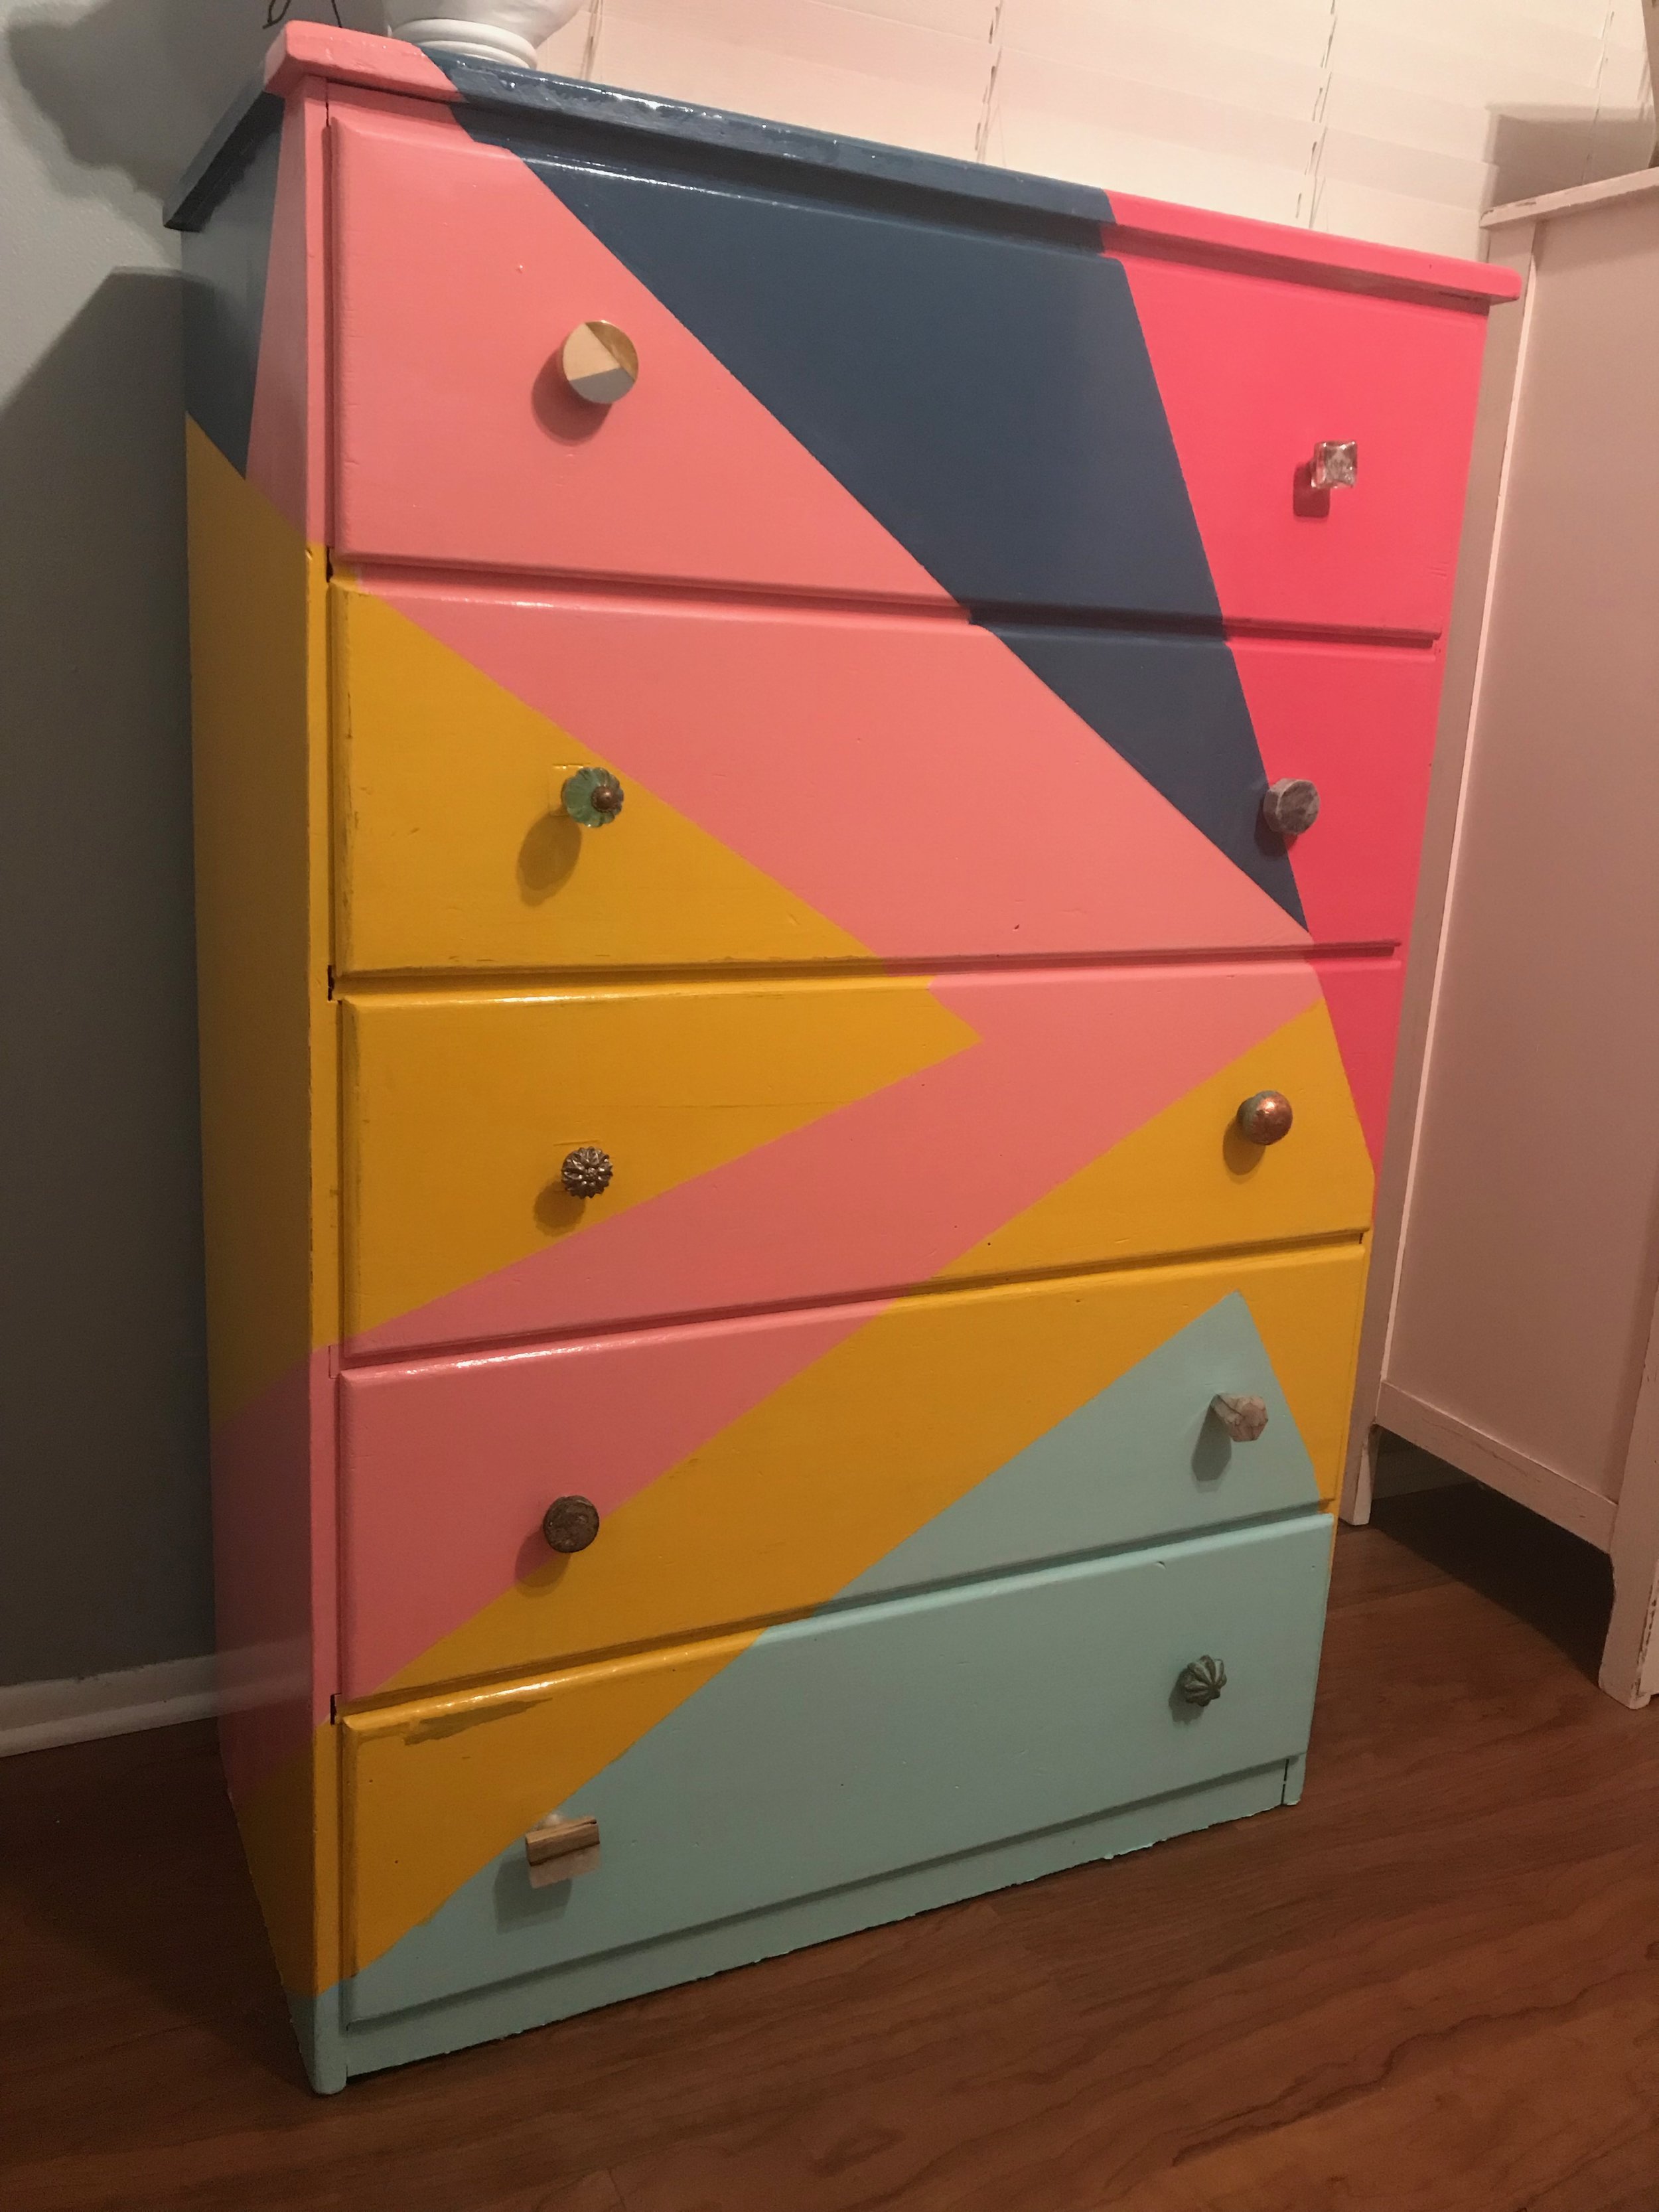
This project was a little more complicated, because it had a pattern instead of being all one color. I used painter’s tape to block off certain areas and create the triangle areas. I didn’t plan it out really, just kind of added sections as I went. It worked out. (Don’t overthink things! It’s just paint!) Once I had painted one coat, I waited for it to dry completely, then taped off along the line on top of that part to add the next color. It was a little tricky, and there were lines that I had to redo, but it was definitely necessary to get those crisp lines. The key to this step is PATIENCE. Let it dry completely before you decide if it needs a new coat. Don’t rush past the small details, and be sure to paint in the direction of the grain. Watch super carefully for paint drips. Seriously, this one his huge. If there is a drip that you miss (there will be), you can wait for it to dry a little and sand it down, then repaint that part. Paint a second coat if needed. Wait for everything to completely dry. I highly recommend doing this step in a well ventilated area, away from where you sleep/live, but not outside or where a lot of dust can stir up and mix in with the paint. A garage with a small fan is ideal, or a spare room inside your house. If you’d like to replicate the “antiqued” look that I used for some of the pieces in the gallery below, you can wait for the paint to dry, and then rub sandpaper along the edges of your piece; the places when it might have worn the most naturally. I do this step before the finish, so you still get full protection, but with that weathered look. This technique is especially stunning if it’s an old piece that already has layers of paint on it. For my dining room table, I was able to find a bit of red hiding in some of the details!
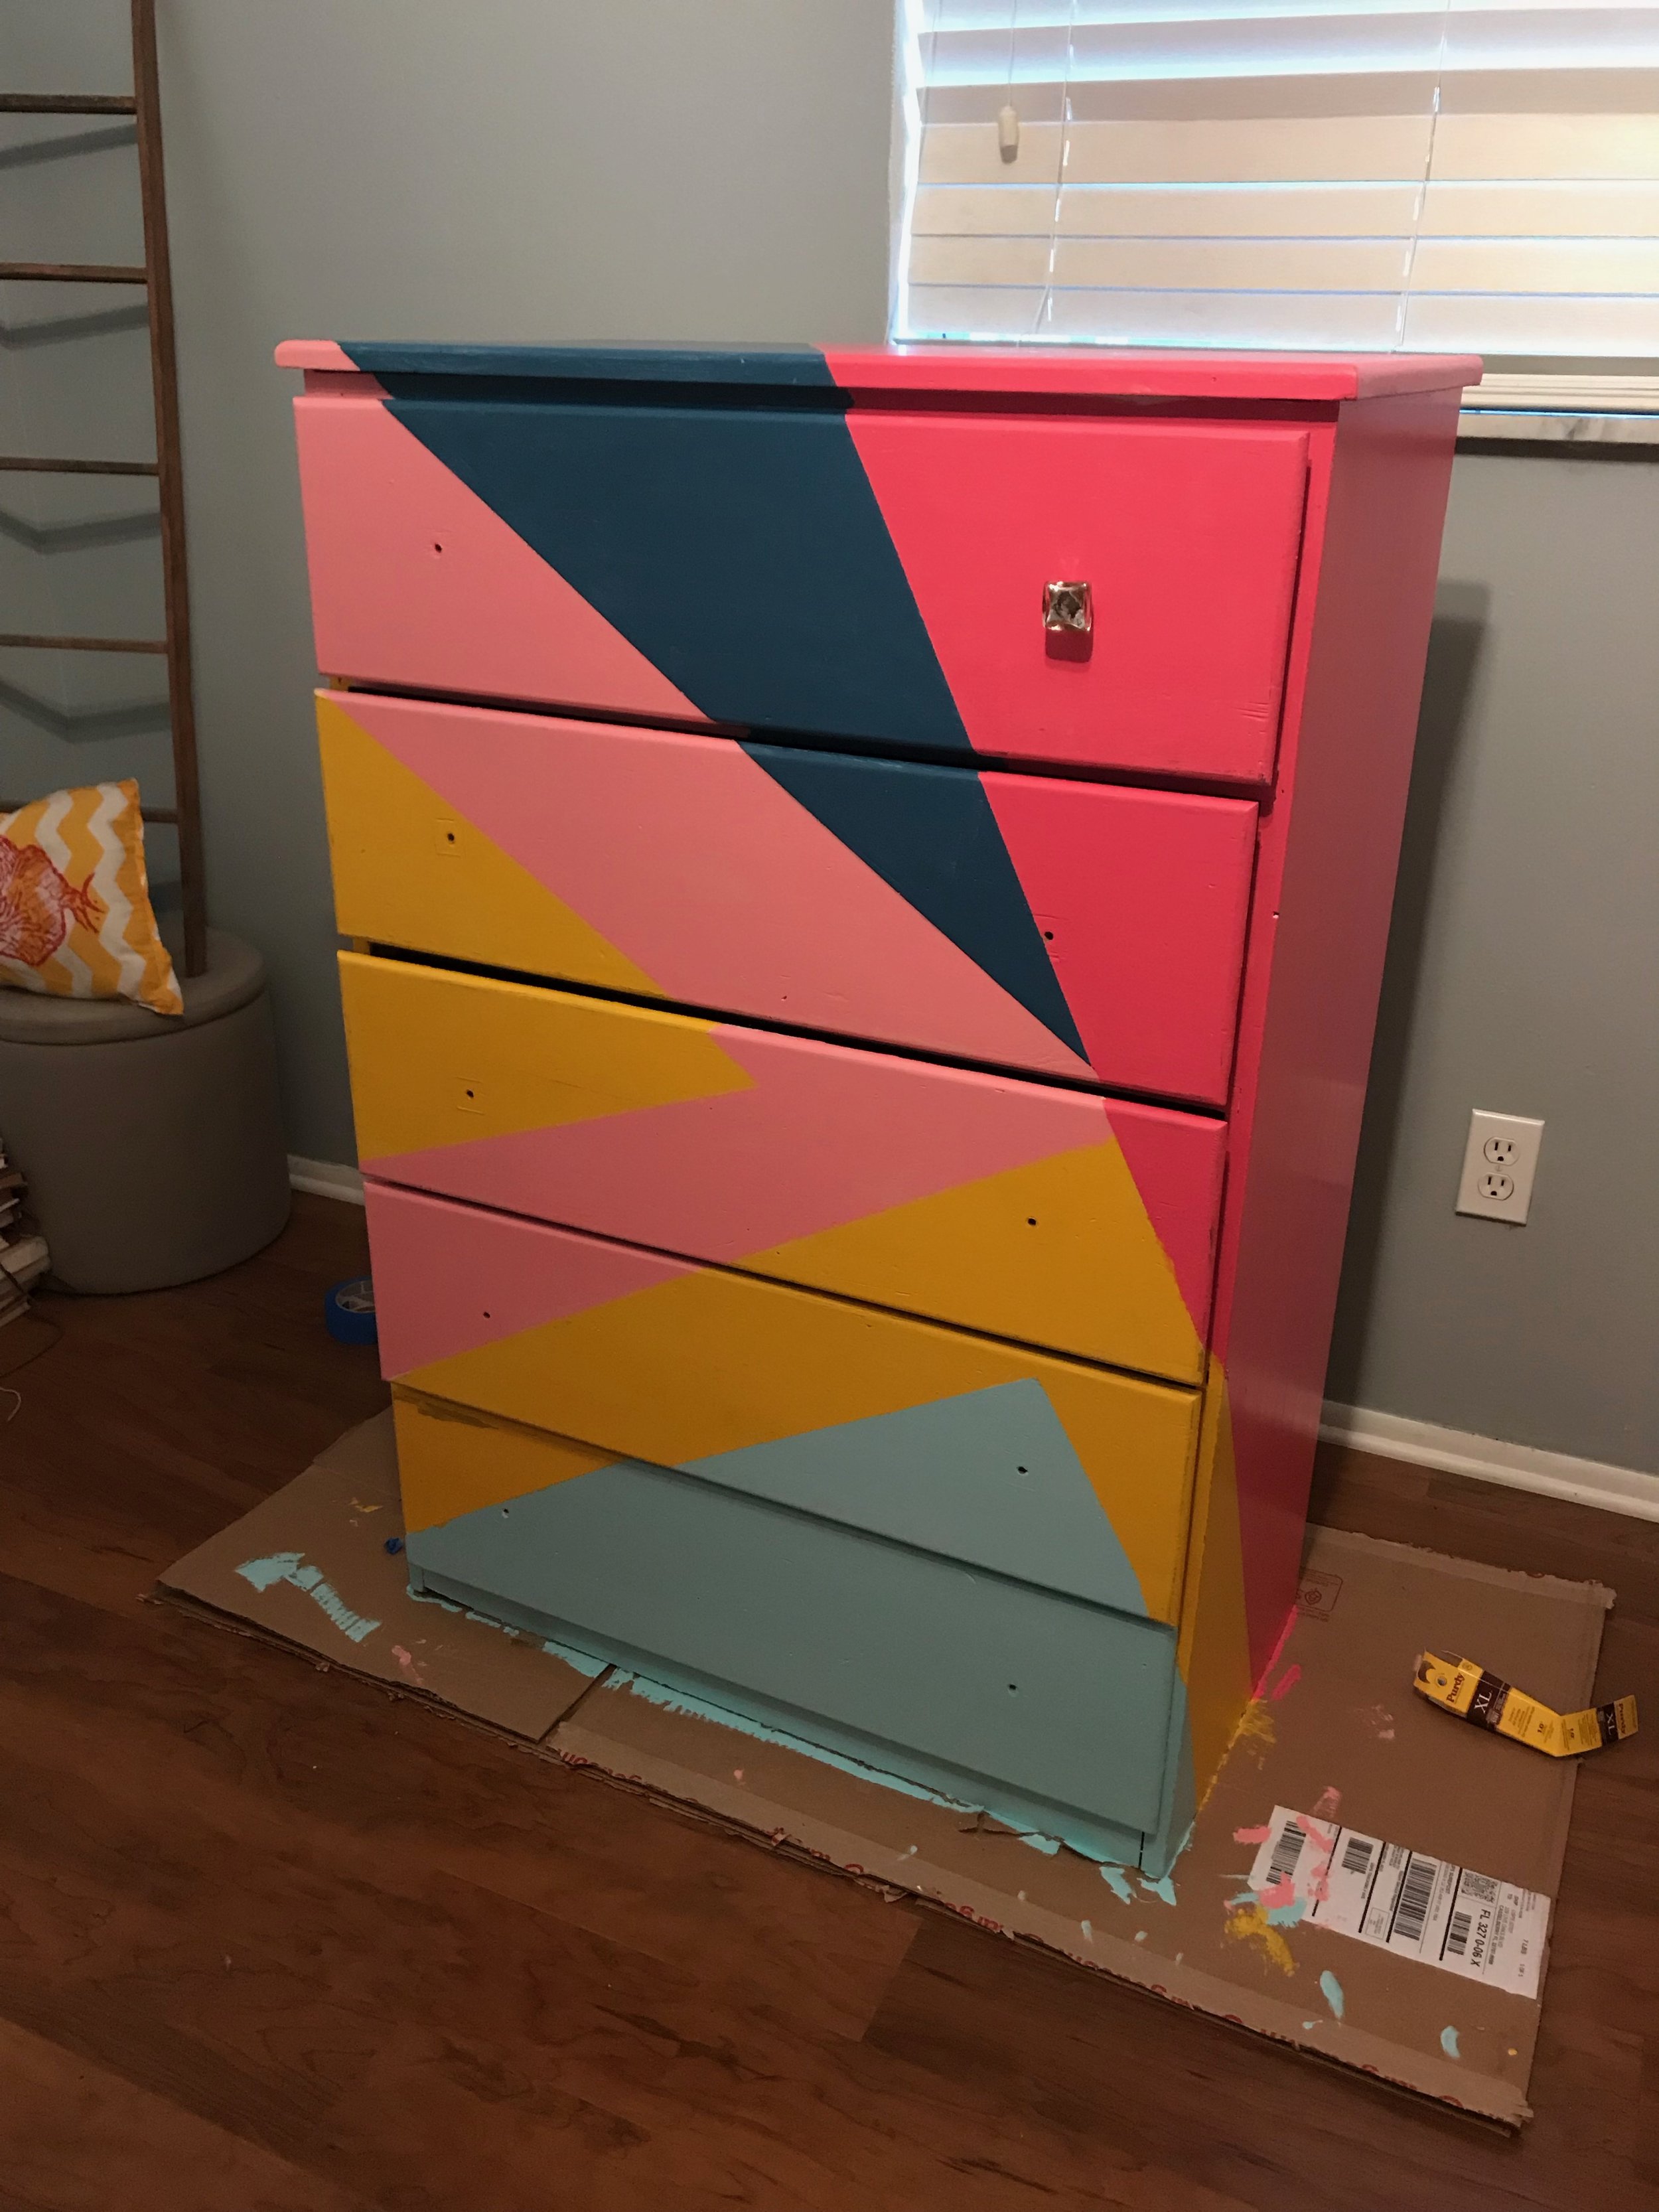
The finished product! I bought mismatched drawer pulls from Hobby Lobby to complete the look.
Step five: Protect it
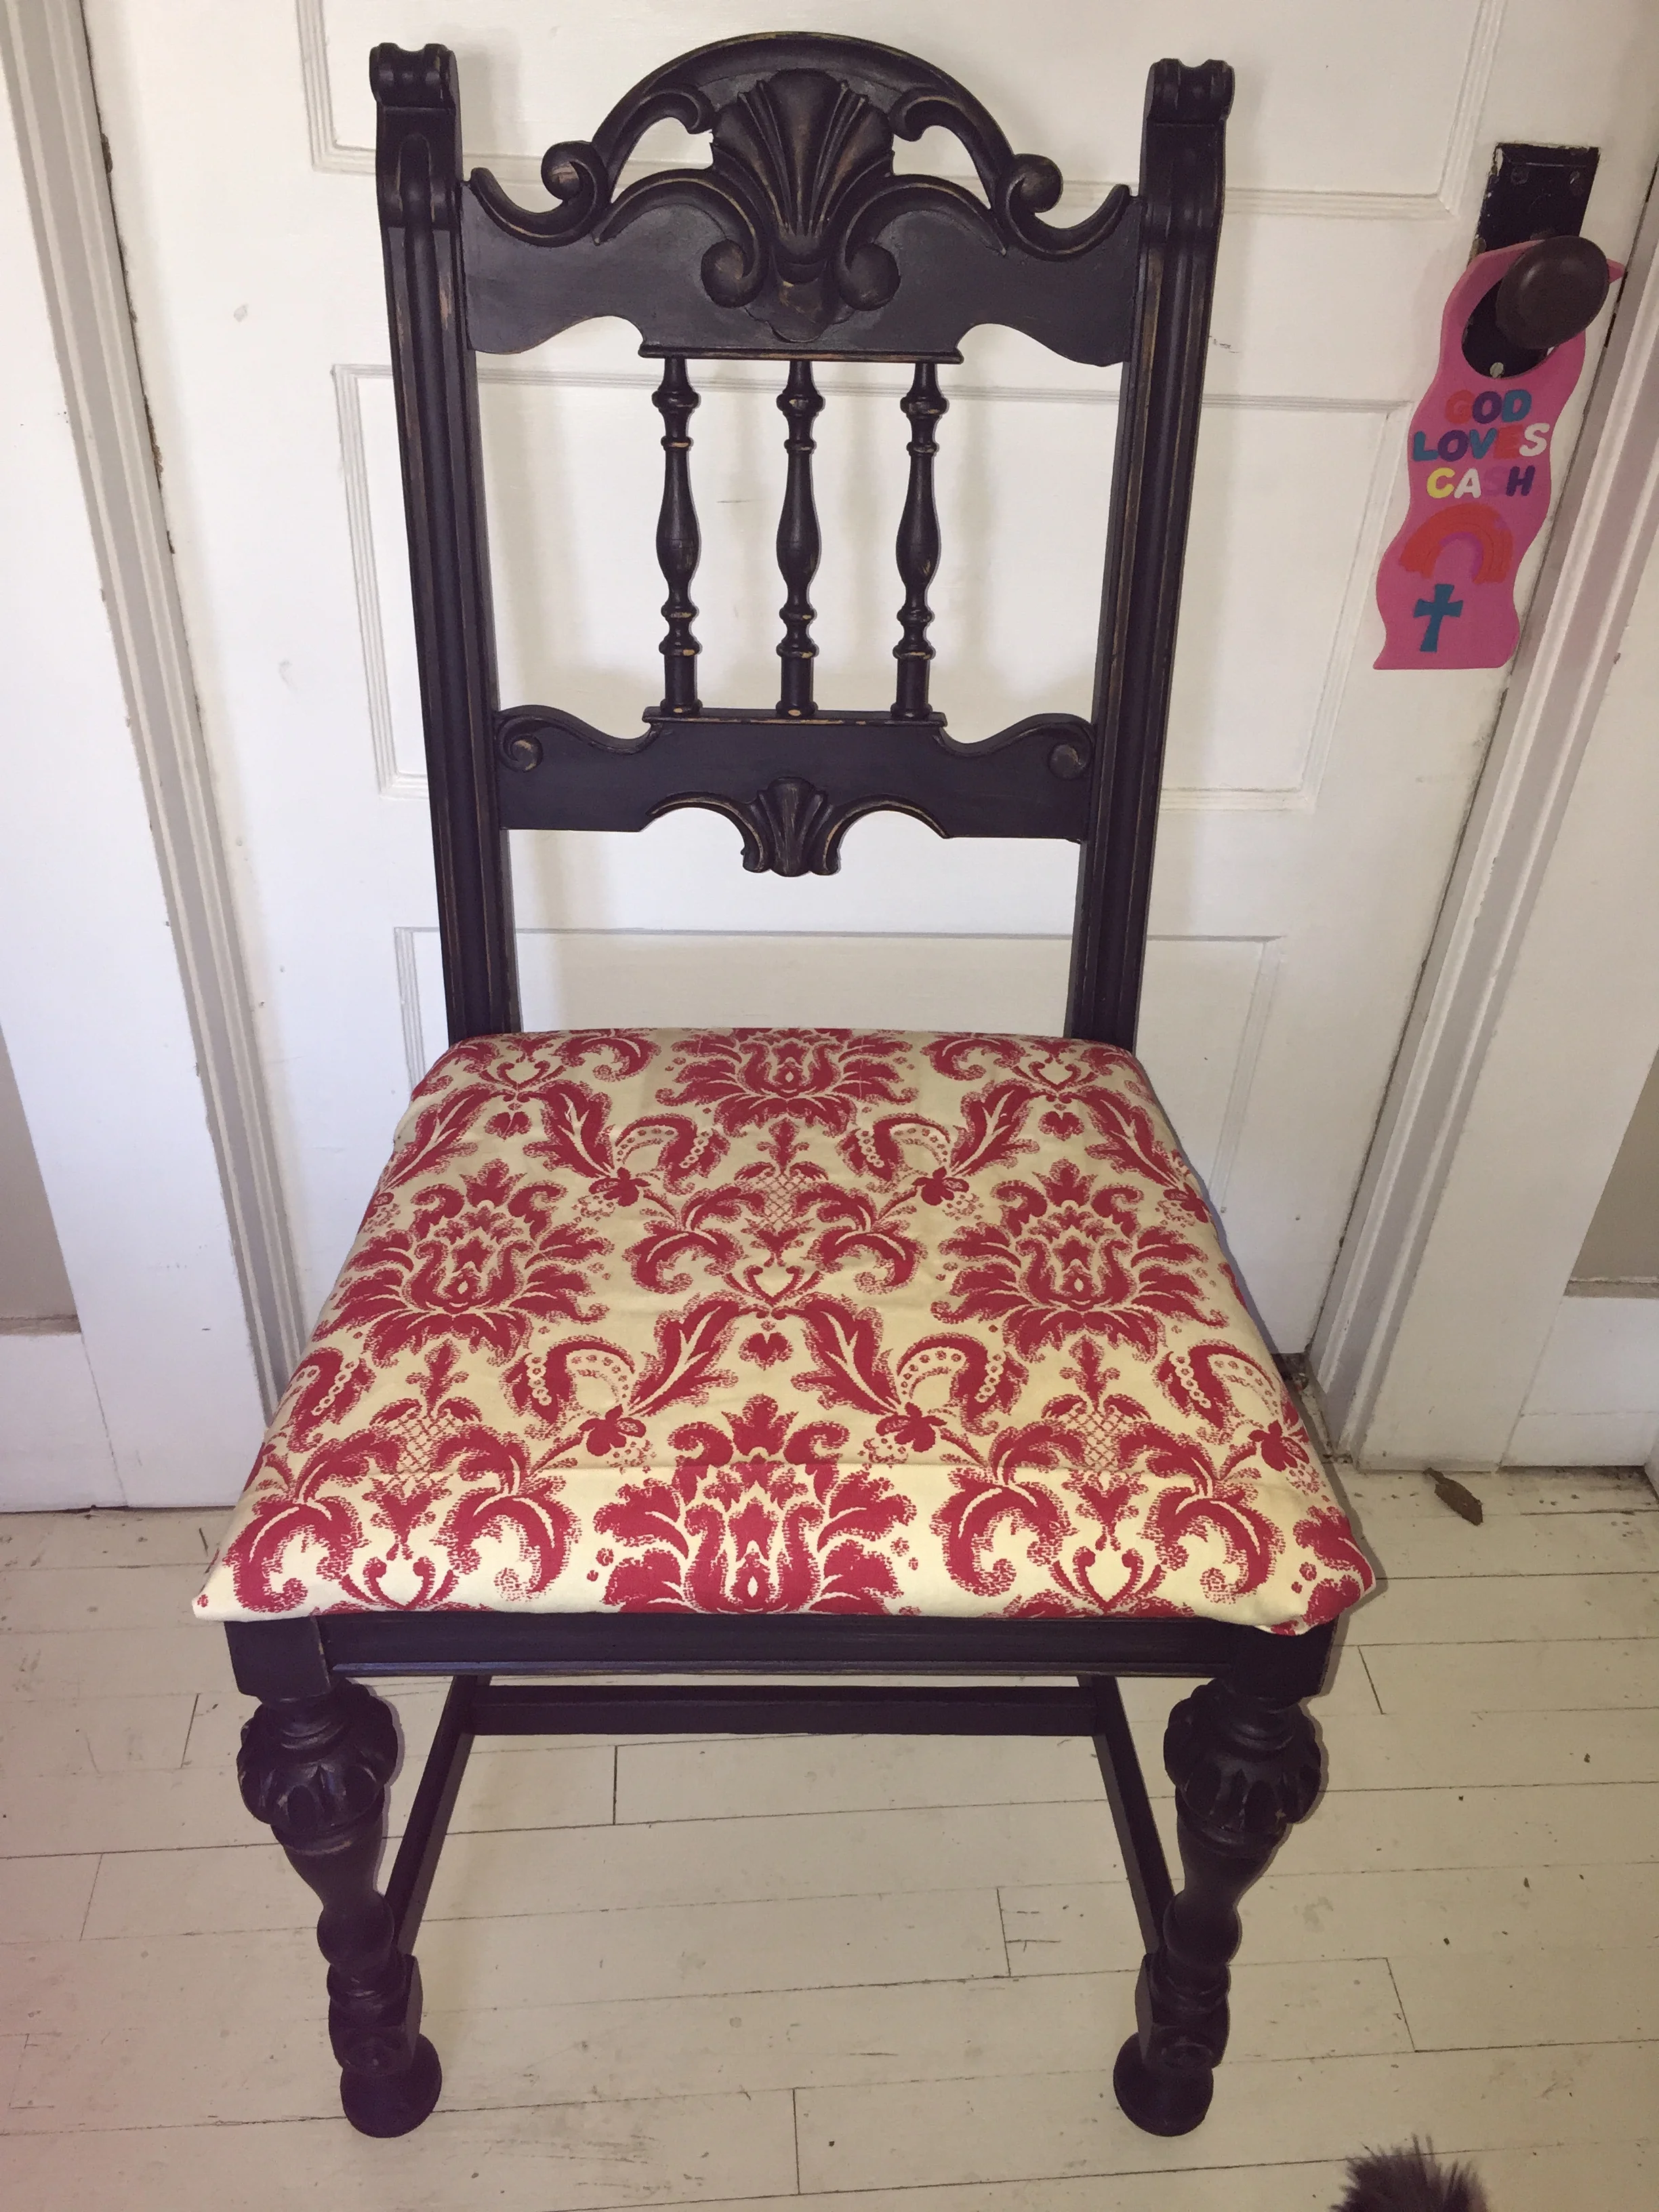
I’ve experimented with a few ways of doing this, and it really depends on what look you’re going for. When I first redid these dressers, because I wanted them to look weathered, I didn’t want a highly polished look. I chose to seal them with a wax. It kept it fairly protected from spills and food, but wasn’t shiny, so it kept the “old” look. It’s super easy to use, and gave it a little bit more of a finished look. For this piece, however, I wanted a more polished finish, so I used polyurethane to coat it. One possible down side to this method is if the paint is a lighter color, it can come out with a slightly yellow tint. I chose the clear, and it still came out a tiny bit yellow on the light blue sections. I didn’t notice it at all on the darker colors. You’ll also want to use a throwaway paint brush on this. It says on the can that you can clean it with paint thinner, and if it’s something that you’re going to be doing often, that might be more cost efficient. This was a one-off project for me right now, so I just used older brushes. It takes FOREVER to dry, and probably should use two coats. Don’t put anything on the dresser until the tacky feeling is completely gone, and even then I like to wait a week or so before putting anything heavy on it.
That’s it! You can check out some of the projects I’ve completed below. It’s all a learning process, but it’s so much fun!